How to Build and Connect Your Own Custom MCP Server in Python for AI Integration
Eleanor Park
Developer Advocate
MCP servers are becoming increasingly important in the AI development ecosystem as they allow AI agents to access external tools and resources. In this tutorial, we'll walk through creating a custom MCP server in Python and connecting it to an AI agent, providing a practical introduction to this powerful concept.
What is an MCP Server?
An MCP (Model-Control-Provider) server acts as a bridge between AI models and external capabilities. It provides various tools or resources to AI agents, allowing them to utilize additional context, call APIs, save data, connect to databases, or perform other actions outside their inherent abilities. Essentially, MCP servers facilitate communication between AI tools and external systems.
Setting Up Your Development Environment
Before we start coding our MCP server, we need to set up our development environment. We'll be using UV, a modern Python package manager that offers significant improvements over pip.

Installing UV
For Windows users, open PowerShell and run the installation command for UV. Mac or Linux users can use their respective terminal commands. While you can use pip instead, UV provides a smoother experience for this project.
Setting Up Claude Desktop
To test our MCP server, we'll use Claude Desktop, a free application that makes it easy to interact with our custom MCP server. Download and install Claude Desktop from the official website.
Creating Your First MCP Server
Now let's start building our MCP server using the MCP Python SDK.
Initializing the Project
- Create a new folder for your project and open it in your preferred code editor (PyCharm is recommended for its Python development features)
- Open a terminal in your project directory
- Initialize a new UV project with the command: `uv init .`
- Install the MCP CLI dependency: `uv add mcp-cli`
After running these commands, you should see several new files in your directory, including a main.py file and a virtual environment (venv) folder.
Writing the MCP Server Code
Open the main.py file and let's create a simple MCP server. Here's the basic code to get started:
from mcp.server.fastmcp import FastMCP

# Create an MCP server
server = FastMCP(name="demo")

# Define a tool that adds two numbers
@server.tool("Add two numbers")
def add(a: int, b: int) -> int:
    return a + b

# Define a resource for greeting users
@server.resource
class Greeting:
    def greet(self, name: str) -> str:
        return f"Hello, {name}!"

# Run the server
if __name__ == "__main__":
server.run()This simple server includes two key components:
- A tool: The `add` function that takes two integers and returns their sum
- A resource: The `Greeting` class with a method to greet users by name
Connecting the MCP Server to Claude Desktop
Now that we have our MCP server code, we need to connect it to Claude Desktop so we can test it with an AI agent.
Installing the MCP Server in Claude Desktop
- In your terminal, run: `uv run mcp install main.py`
- Open Claude Desktop
- If you don't see the MCP tools immediately, you may need to restart Claude Desktop completely
- After restarting, you should see a hammer icon and a plug icon in the Claude interface
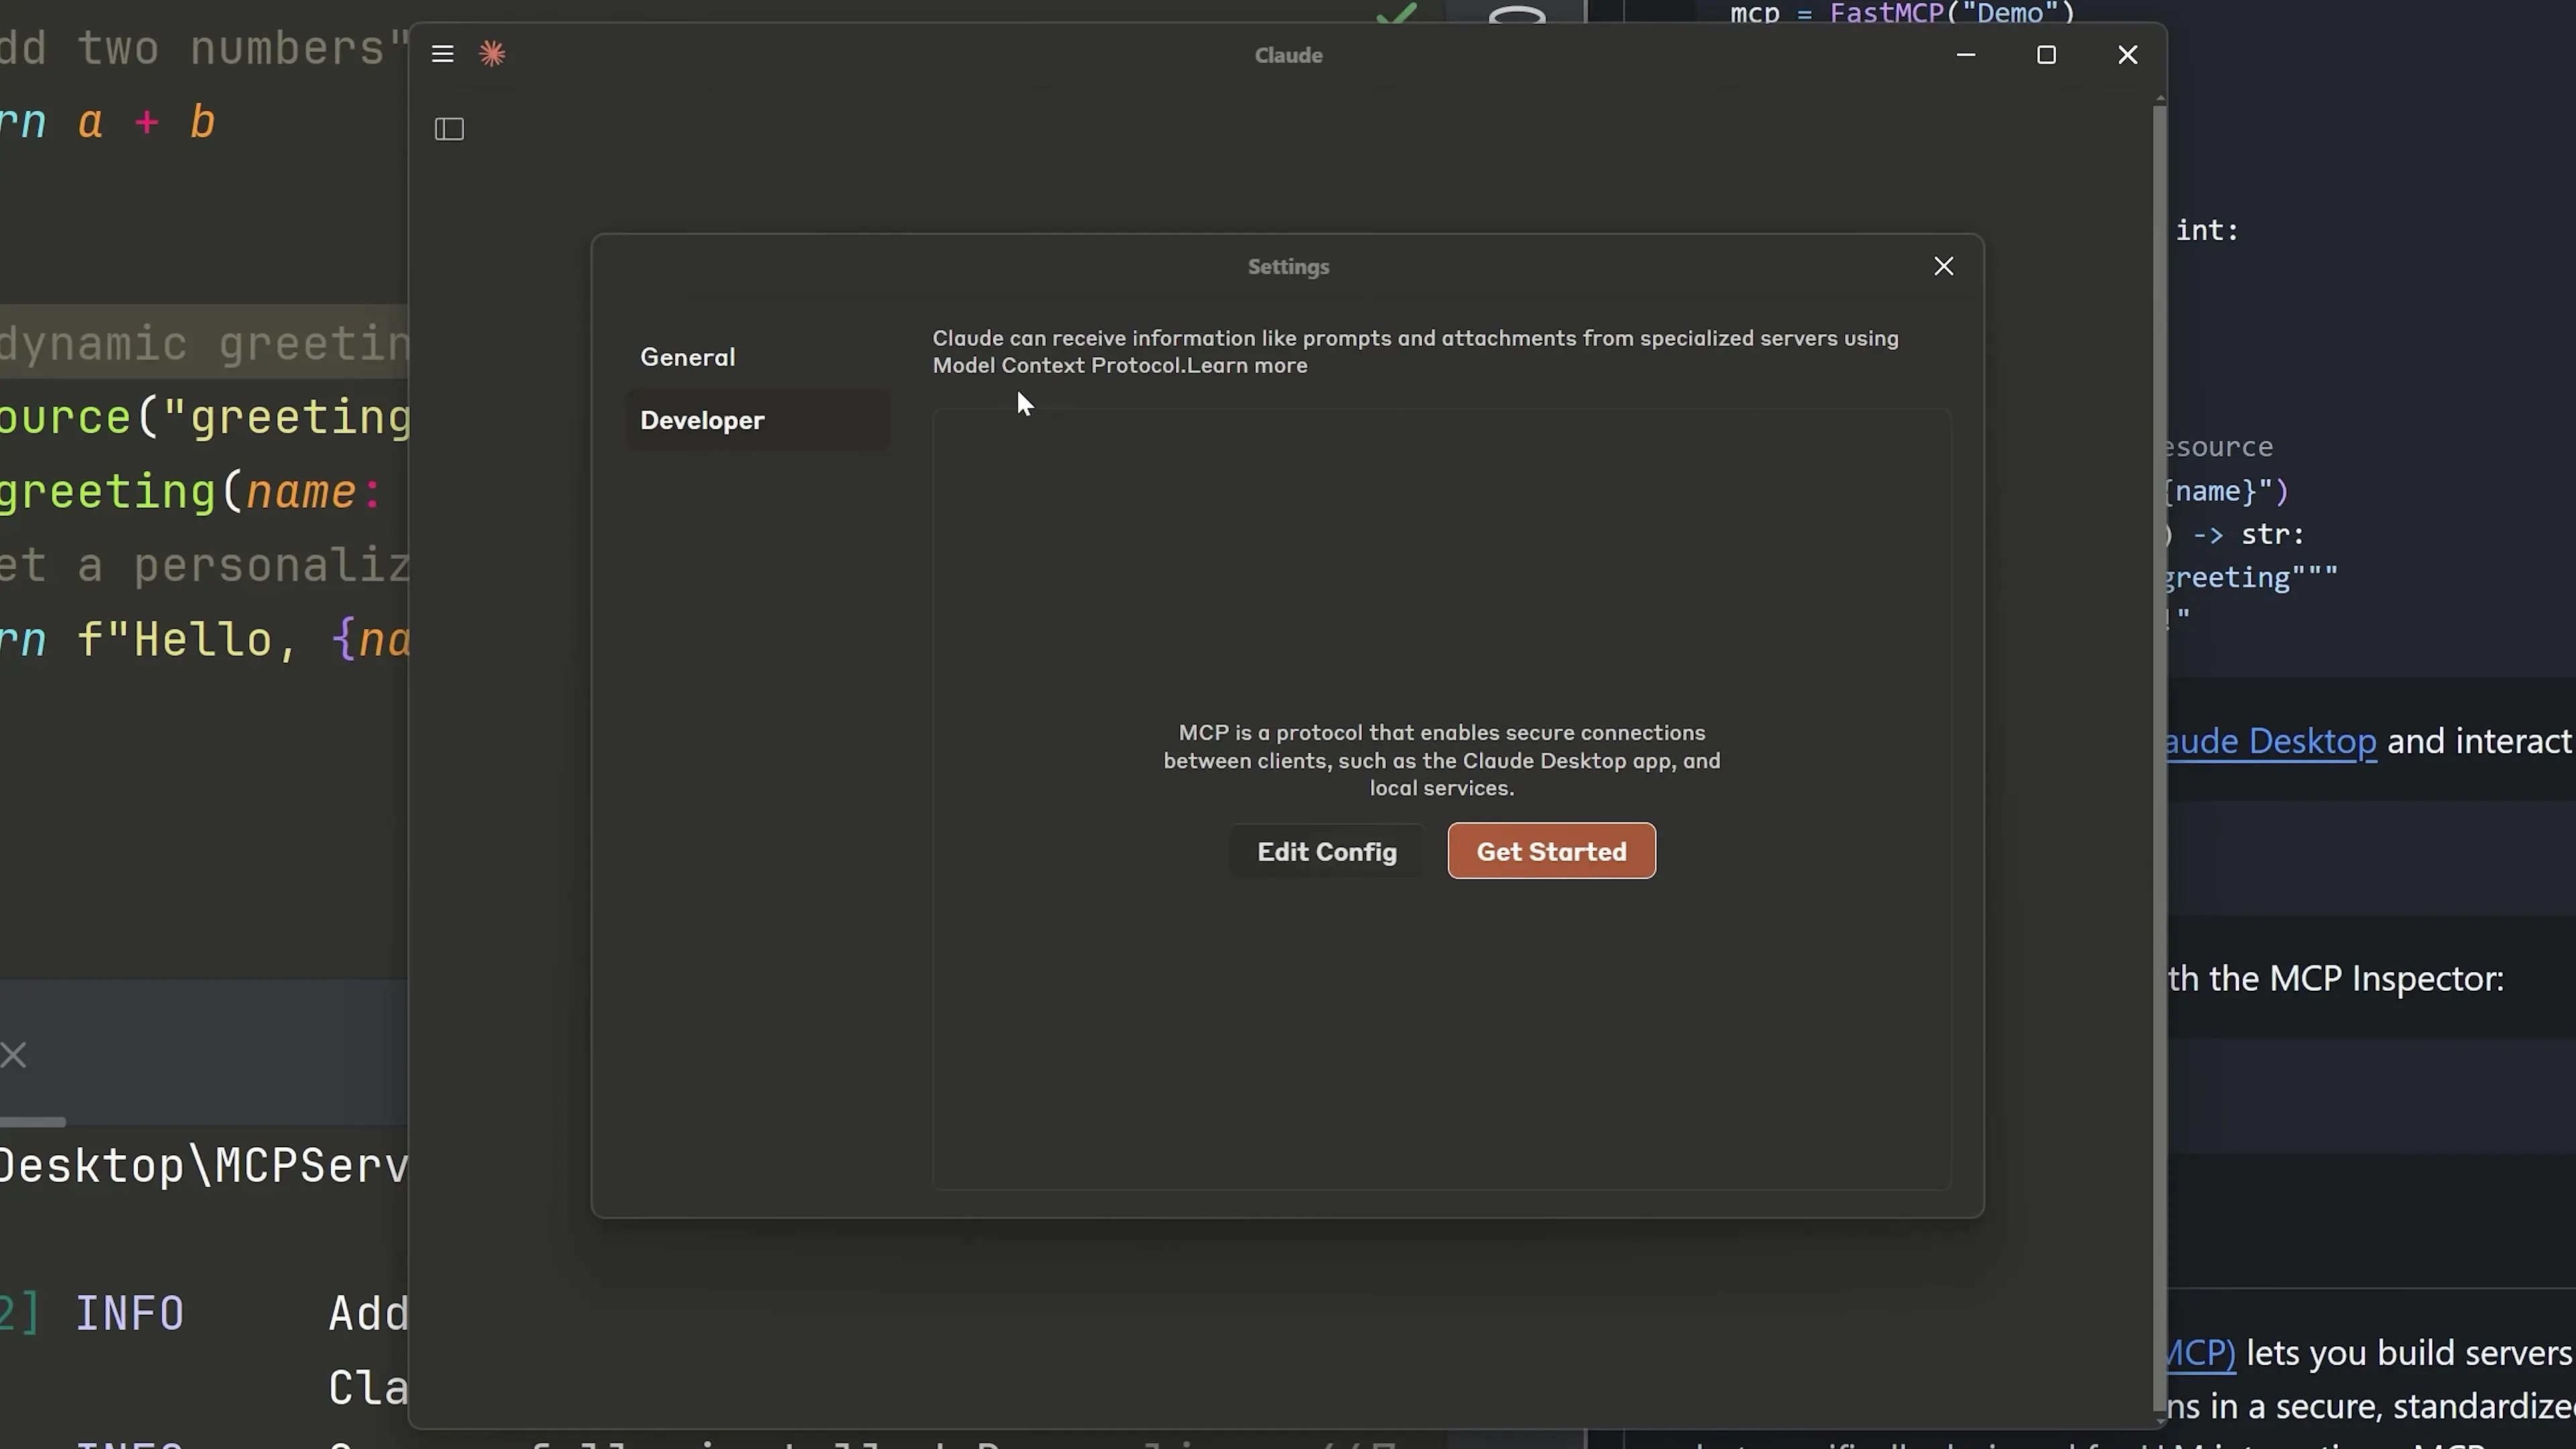
If you encounter issues, you can manually configure Claude Desktop by going to File > Settings > Developer > Edit Config. This will open the Claude Desktop configuration file where you can see the command and arguments for running your MCP server.
Testing Your MCP Server

Once your MCP server is connected to Claude Desktop, you can test it by asking Claude to use the tools you've created.
- In Claude Desktop, click on "Available MCP Tools" to see your server's tools
- You should see the "add" tool from your "demo" server
- Ask Claude something like "Can you add 1 + 7?"
- Claude should use your MCP tool to perform the calculation
Extending Your MCP Server
Now that you have a basic MCP server working, you can extend it with more useful tools. Here are some ideas for extending your server:
- Add tools that interact with APIs (weather data, stock prices, etc.)
- Create tools for file operations (reading/writing files)
- Implement database connectors
- Add tools for image processing or generation
- Create custom tools specific to your domain or use case
Example: Adding a Weather Tool
import requests

@server.tool("Get current weather")
def get_weather(city: str) -> str:
    api_key = "your_api_key_here"
    url = f"https://api.weatherapi.com/v1/current.json?key={api_key}&q={city}"
    response = requests.get(url)
    data = response.json()
return f"The current temperature in {city} is {data['current']['temp_c']}°C with {data['current']['condition']['text']} conditions."Best Practices for MCP Server Development
- Provide clear documentation for each tool and resource
- Implement proper error handling to prevent crashes
- Use type hints to help AI agents understand input/output requirements
- Consider security implications, especially when handling sensitive data
- Test your tools thoroughly before deploying them in production
- Keep your tools focused on specific tasks rather than creating overly complex multi-purpose tools
Conclusion
Building custom MCP servers in Python opens up a world of possibilities for extending AI capabilities. By creating specialized tools and resources, you can empower AI agents to perform tasks that would otherwise be impossible. This tutorial has provided you with the foundation to start building your own MCP servers and integrating them with AI tools like Claude Desktop.
As you continue developing MCP servers, you'll discover new ways to enhance AI capabilities and create more powerful, versatile applications. The combination of Python's flexibility and the structured approach of the MCP framework makes it an excellent choice for AI tool development.
Let's Watch!
Build Your Own Custom MCP Server in Python: A Beginner's Guide
Ready to enhance your neural network?
Access our quantum knowledge cores and upgrade your programming abilities.
Initialize Training Sequence