OpenAI Agent Builder 101: Build Powerful AI Workflows Without Writing Code
Sophia Okonkwo
Technical Writer
OpenAI's Agent Builder is revolutionizing how developers and non-developers alike can create powerful AI workflows. This visual tool allows you to build sophisticated AI agents without writing a single line of code, making advanced AI implementation accessible to everyone. In this comprehensive guide, we'll explore what Agent Builder is and walk through creating your first agent—a helpful travel assistant that can generate itineraries and look up flight information.
What is OpenAI Agent Builder?
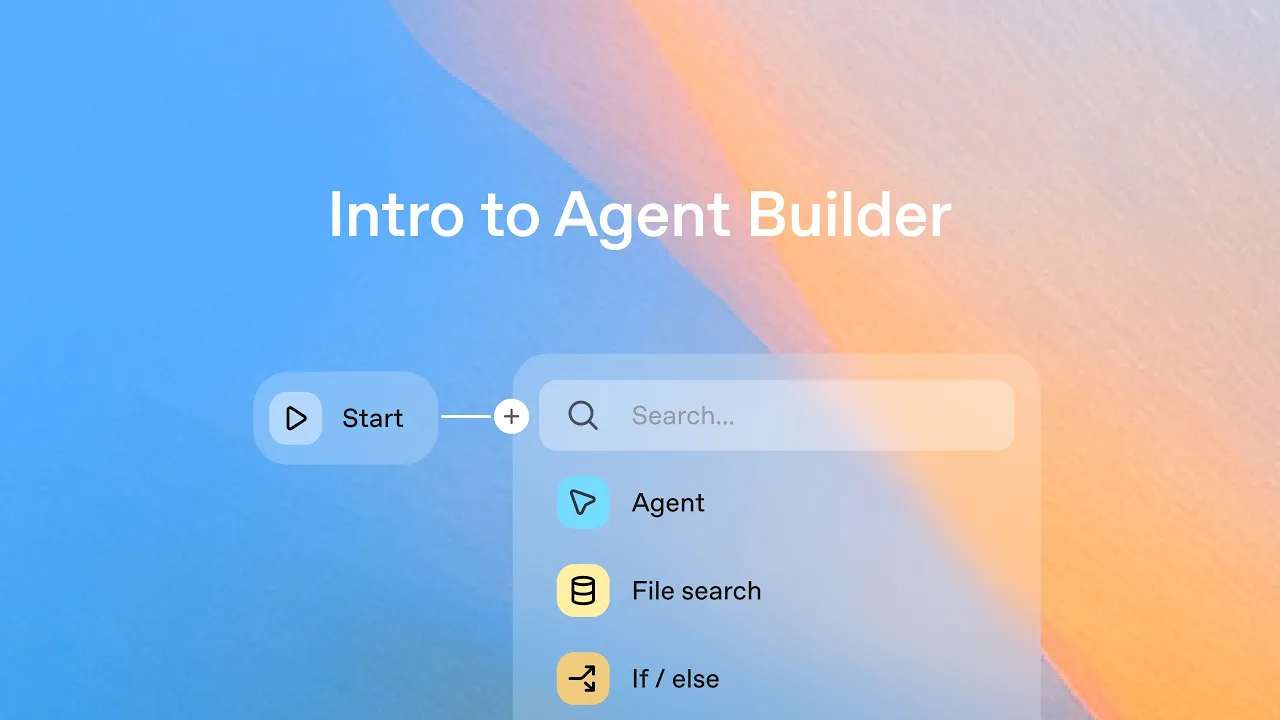
Agent Builder is a visual development environment for creating AI workflows through a node-based interface. Instead of writing complex code, you simply connect nodes to create functional agents that can perform various tasks. The platform offers several advantages:
- No-code development environment with a visual interface
- Pre-built templates to jumpstart your projects
- Built-in evaluation tools to test agent performance
- Option to export workflows as code or deploy directly
- All-in-one environment to design, test, and launch AI agents
Building Your First Agent: A Travel Assistant
Let's dive into creating a travel assistant that can handle two distinct tasks: building travel itineraries and providing flight information. We'll build this step-by-step using the Agent Builder's visual interface.
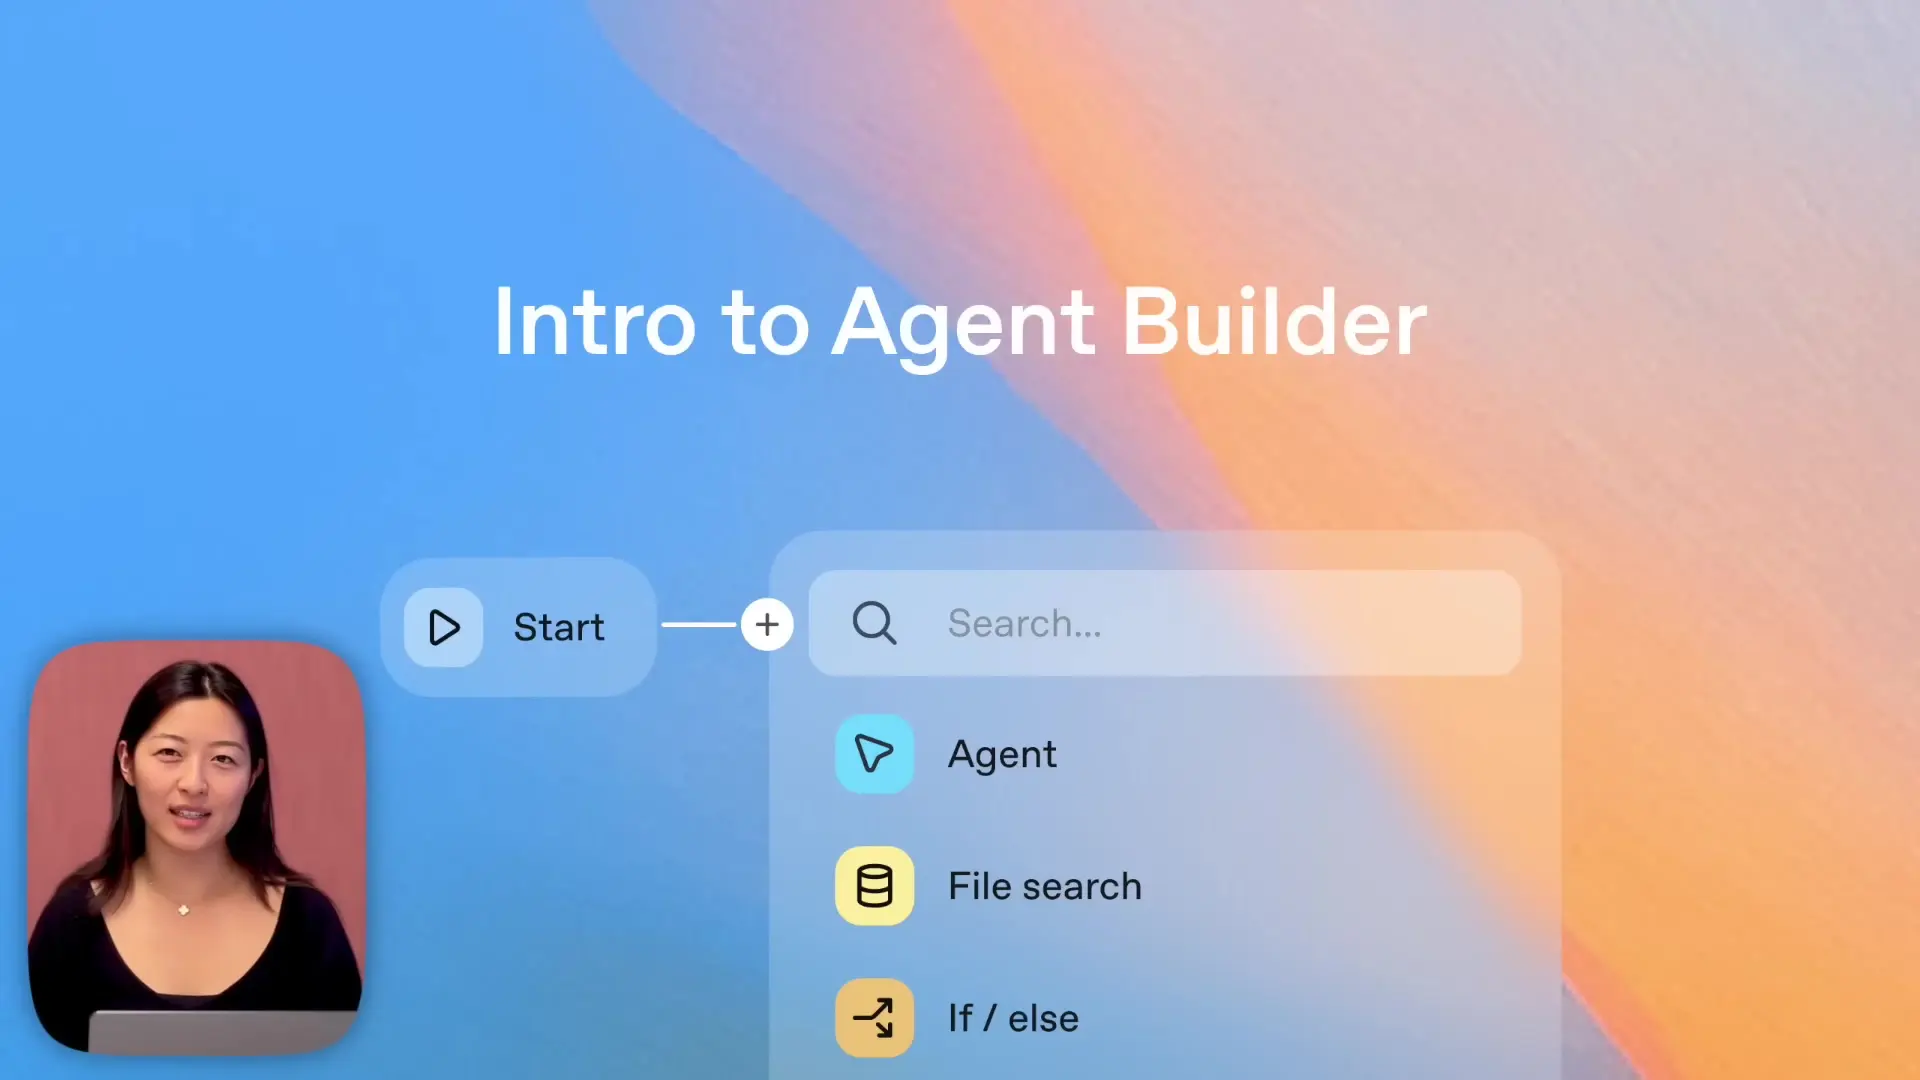
Step 1: Setting Up the Workflow Foundation
Every workflow in Agent Builder begins with a start node. This is where you can define input variables or state variables that will be used throughout your agent's operation. For our travel assistant, the default settings work perfectly.
Step 2: Creating a Classifier Agent
Since our travel assistant needs to handle two different types of requests (itinerary creation and flight information), we need a way to determine which specialized agent should handle each request. This is where a classifier agent comes in.
- Connect a classifier agent to the start node
- Name the node "classifier"
- Add a system prompt: "You are a helpful travel assistant for classifying whether a message is about flight information or itinerary planning"
- Specify the output format as JSON with a property called "classification"
- Define two possible values for classification: "flight_info" or "itinerary"
Step 3: Adding Conditional Logic with If/Else
Now we need to create branching logic that will route requests to the appropriate specialized agent based on the classifier's output.
- Add an if/else node connected to the classifier
- Set the condition to check if output.classification equals "flight_info"
- If true, the request will be routed to the flight agent
- If false, the request will be routed to the itinerary agent
Step 4: Building the Flight Information Agent
The flight agent will handle all requests related to finding and displaying flight information. We'll create a specialized agent that can search for and recommend specific flights.
- Create a new agent node connected to the "true" branch of the if/else node
- Name it "flight_agent"
- Add a system prompt: "You are a travel assistant. Always recommend a specific flight to go to the requested destination. Use airport codes."
- Enable web search capability to provide up-to-date flight information
Step 5: Creating the Itinerary Planning Agent
The itinerary agent will handle requests for travel planning and creating detailed itineraries for destinations.
- Create a new agent node connected to the "false" branch of the if/else node
- Name it "itinerary_agent"
- Add a system prompt: "You are a travel assistant. Build a concise itinerary for the requested destination and duration."
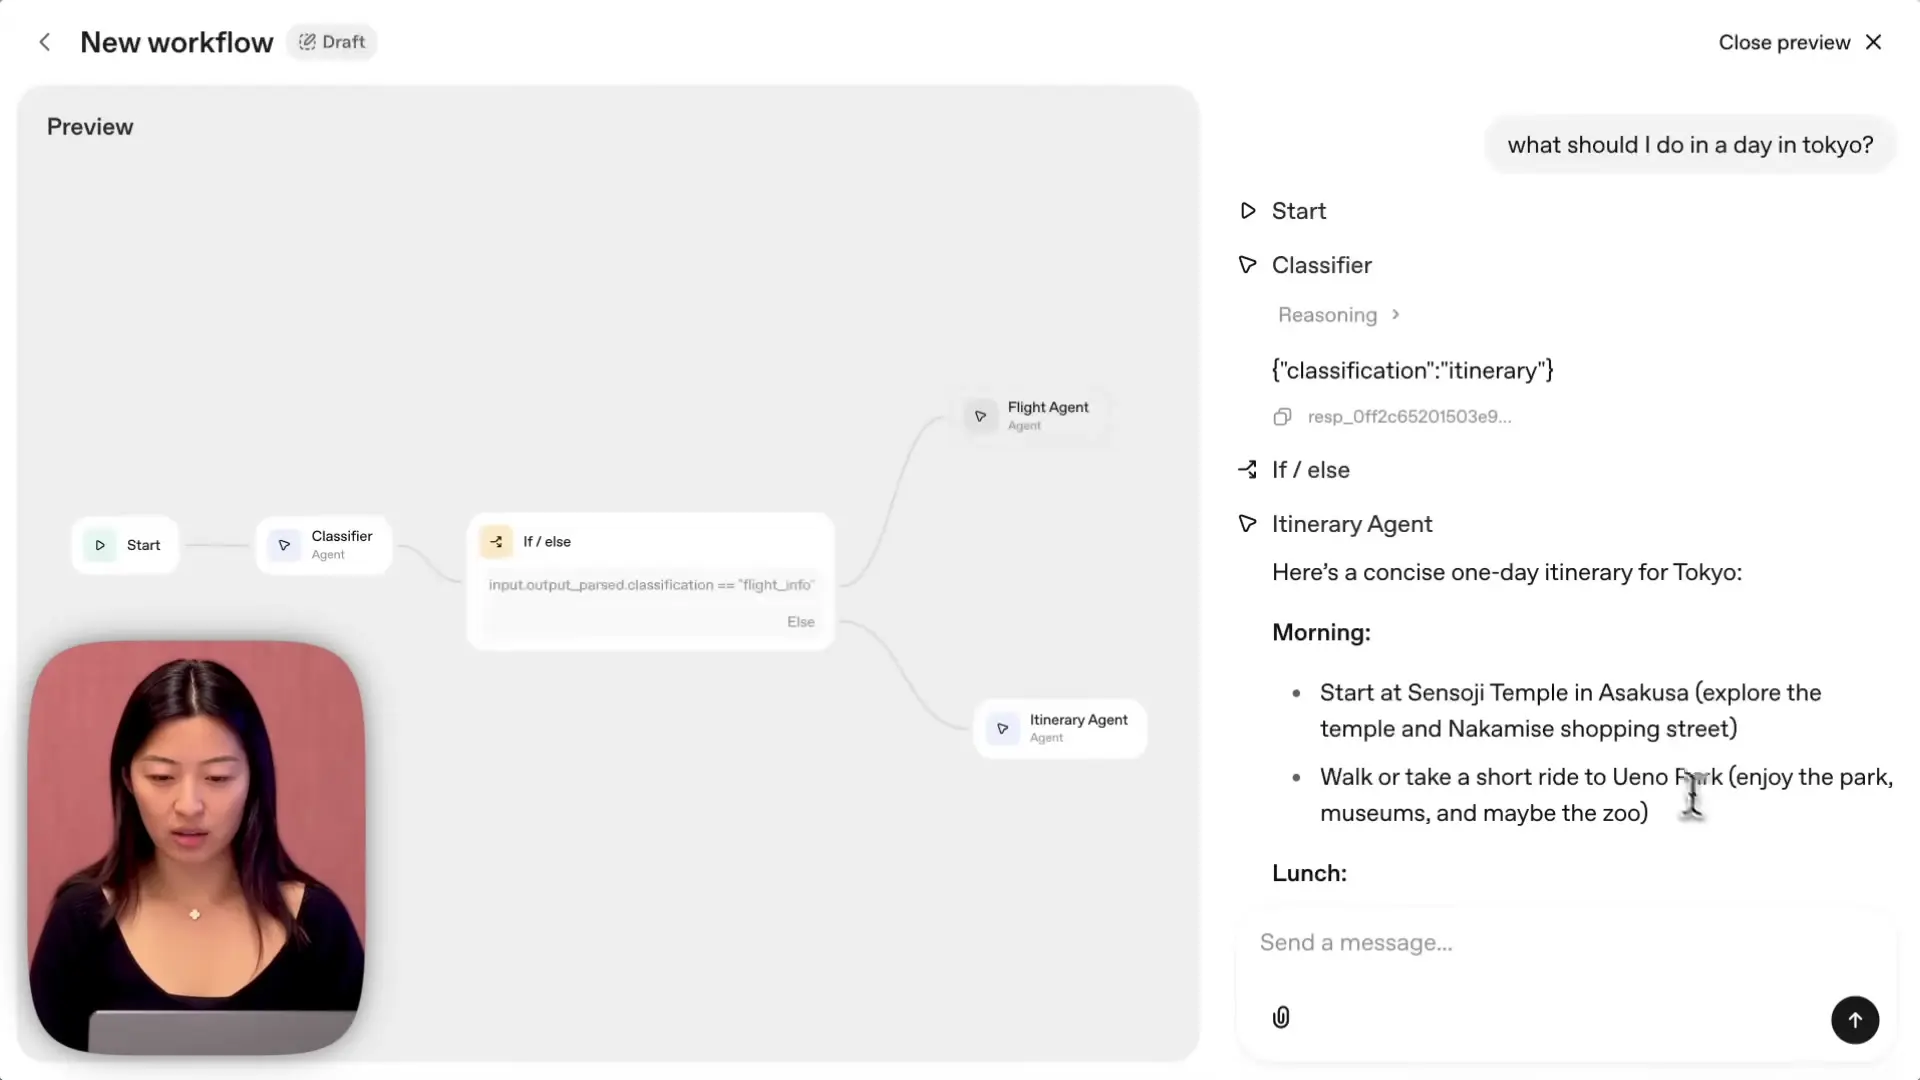
Testing Your Travel Assistant
With the basic workflow set up, it's time to test your travel assistant. Use the run preview feature to see how your agent handles different types of requests.
- For itinerary requests (e.g., "What should I do in a day in Tokyo?"), you'll see the request flow through the classifier, be identified as an itinerary request, and then be handled by the itinerary agent.
- For flight requests (e.g., "SFO to Tokyo on October 7th"), the request will be classified accordingly and routed to the flight agent, which will search for and recommend specific flights.
Enhancing the User Experience with Widgets
To create a more engaging user experience, especially for flight information, you can incorporate widgets that display data in a visually appealing way.
- Design or download a flight information widget template from the Widget Studio
- Upload the widget to your flight agent node
- Customize the widget behavior by adding instructions like "choose a background color creatively" and "include time zones with AM/PM format"
With these enhancements, when a user asks about flights, they'll receive a visually rich response showing flight details in an organized, attractive format rather than plain text.
Deploying Your Agent
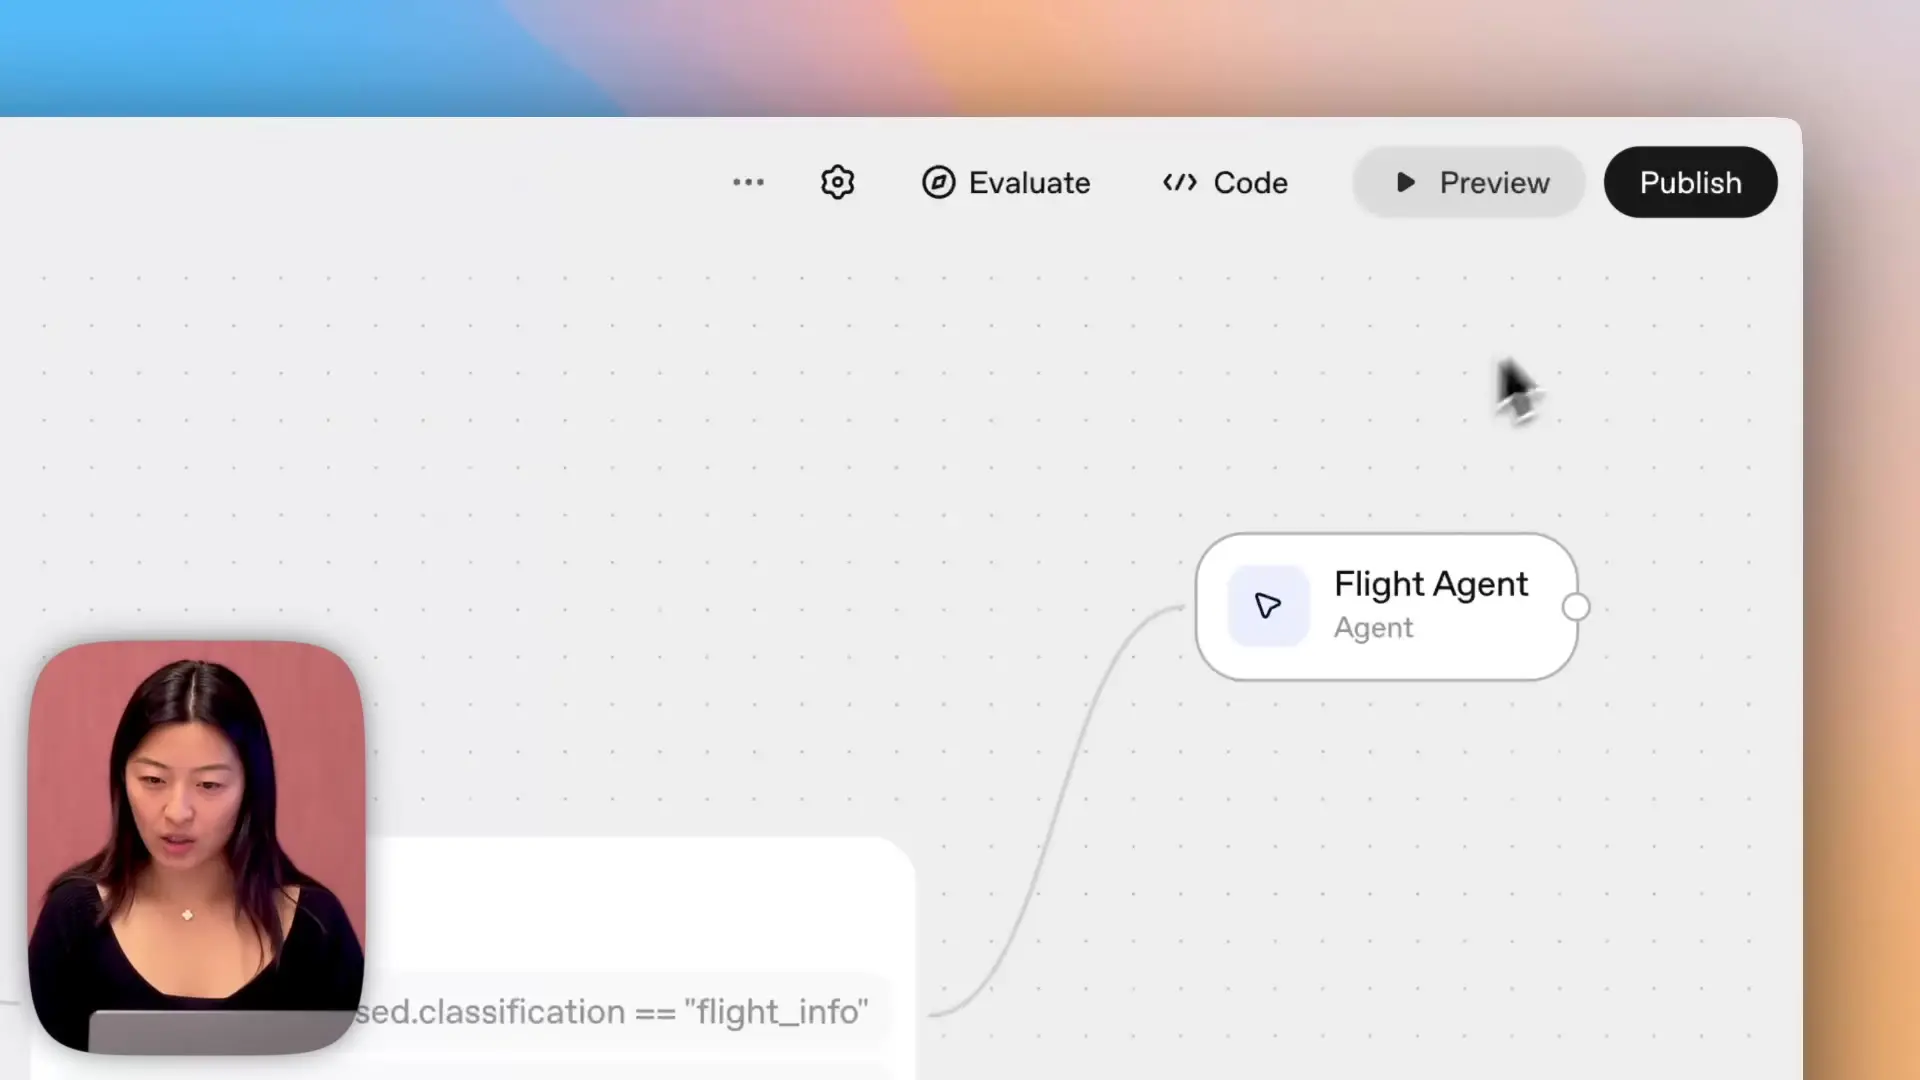
Once you're satisfied with your agent's performance, it's time to deploy it. Agent Builder offers multiple deployment options:
- Publish directly from the Agent Builder interface
- Use the Agents SDK (which generates the necessary code for you)
- Simply take the workflow ID and integrate it into your product
The beauty of Agent Builder is that it handles all the complex code generation behind the scenes. You can focus on designing the workflow logic without worrying about implementation details.
Benefits of Using OpenAI Agent Builder
Building AI workflows with Agent Builder offers numerous advantages over traditional development approaches:
- Dramatically reduced development time
- No coding skills required for creating complex AI workflows
- Visual interface makes it easy to understand and modify agent logic
- Built-in testing capabilities ensure your agent performs as expected
- Seamless deployment options for various use cases
- Ability to create specialized agents for different tasks within a single workflow
Conclusion
OpenAI's Agent Builder represents a significant step forward in democratizing AI development. By providing a visual, no-code environment for creating sophisticated AI agents, it opens up possibilities for developers and non-developers alike to harness the power of AI for practical applications.
The travel assistant we built in this tutorial demonstrates how quickly you can create a functional, multi-capability AI agent without writing a single line of code. As you become more familiar with Agent Builder, you can create increasingly complex workflows to handle a wide variety of use cases.
Whether you're looking to enhance customer service, automate repetitive tasks, or create entirely new AI-powered experiences, Agent Builder provides the tools you need to bring your ideas to life quickly and efficiently.
Let's Watch!
OpenAI Agent Builder 101: How to Create AI Workflows Without Code
Ready to enhance your neural network?
Access our quantum knowledge cores and upgrade your programming abilities.
Initialize Training Sequence