PREVIOUS PATH

AutoHotkey Beginner's Guide: Create Your First Automation Script in 5 Minutes
Complete AutoHotkey Beginner's Guide: Install and Create Your First Automation Script
Sophia Okonkwo
Technical Writer

AutoHotkey is a powerful automation tool that lets you create custom keyboard shortcuts to streamline your workflow. Whether you're looking to launch applications, automate repetitive tasks, or create context-sensitive shortcuts, AutoHotkey's hotkey functionality provides the flexibility you need. In this comprehensive guide, we'll explore how to create and customize hotkeys in AutoHotkey from the ground up.
Hotkeys in AutoHotkey are essentially shortcut keys that trigger specific actions when pressed. The syntax for defining a hotkey is straightforward but powerful. Let's start by understanding the basic structure of an AutoHotkey hotkey.
To create a hotkey, you need to define the key combination followed by two colons (::) and then specify the action to be performed. For example, to launch Notepad when you press Ctrl+Q, your script would look like this:
^q::
Run Notepad
returnIn this example, the caret symbol (^) represents the Ctrl key, followed by 'q' to indicate the Q key. When these keys are pressed together, the script runs Notepad.
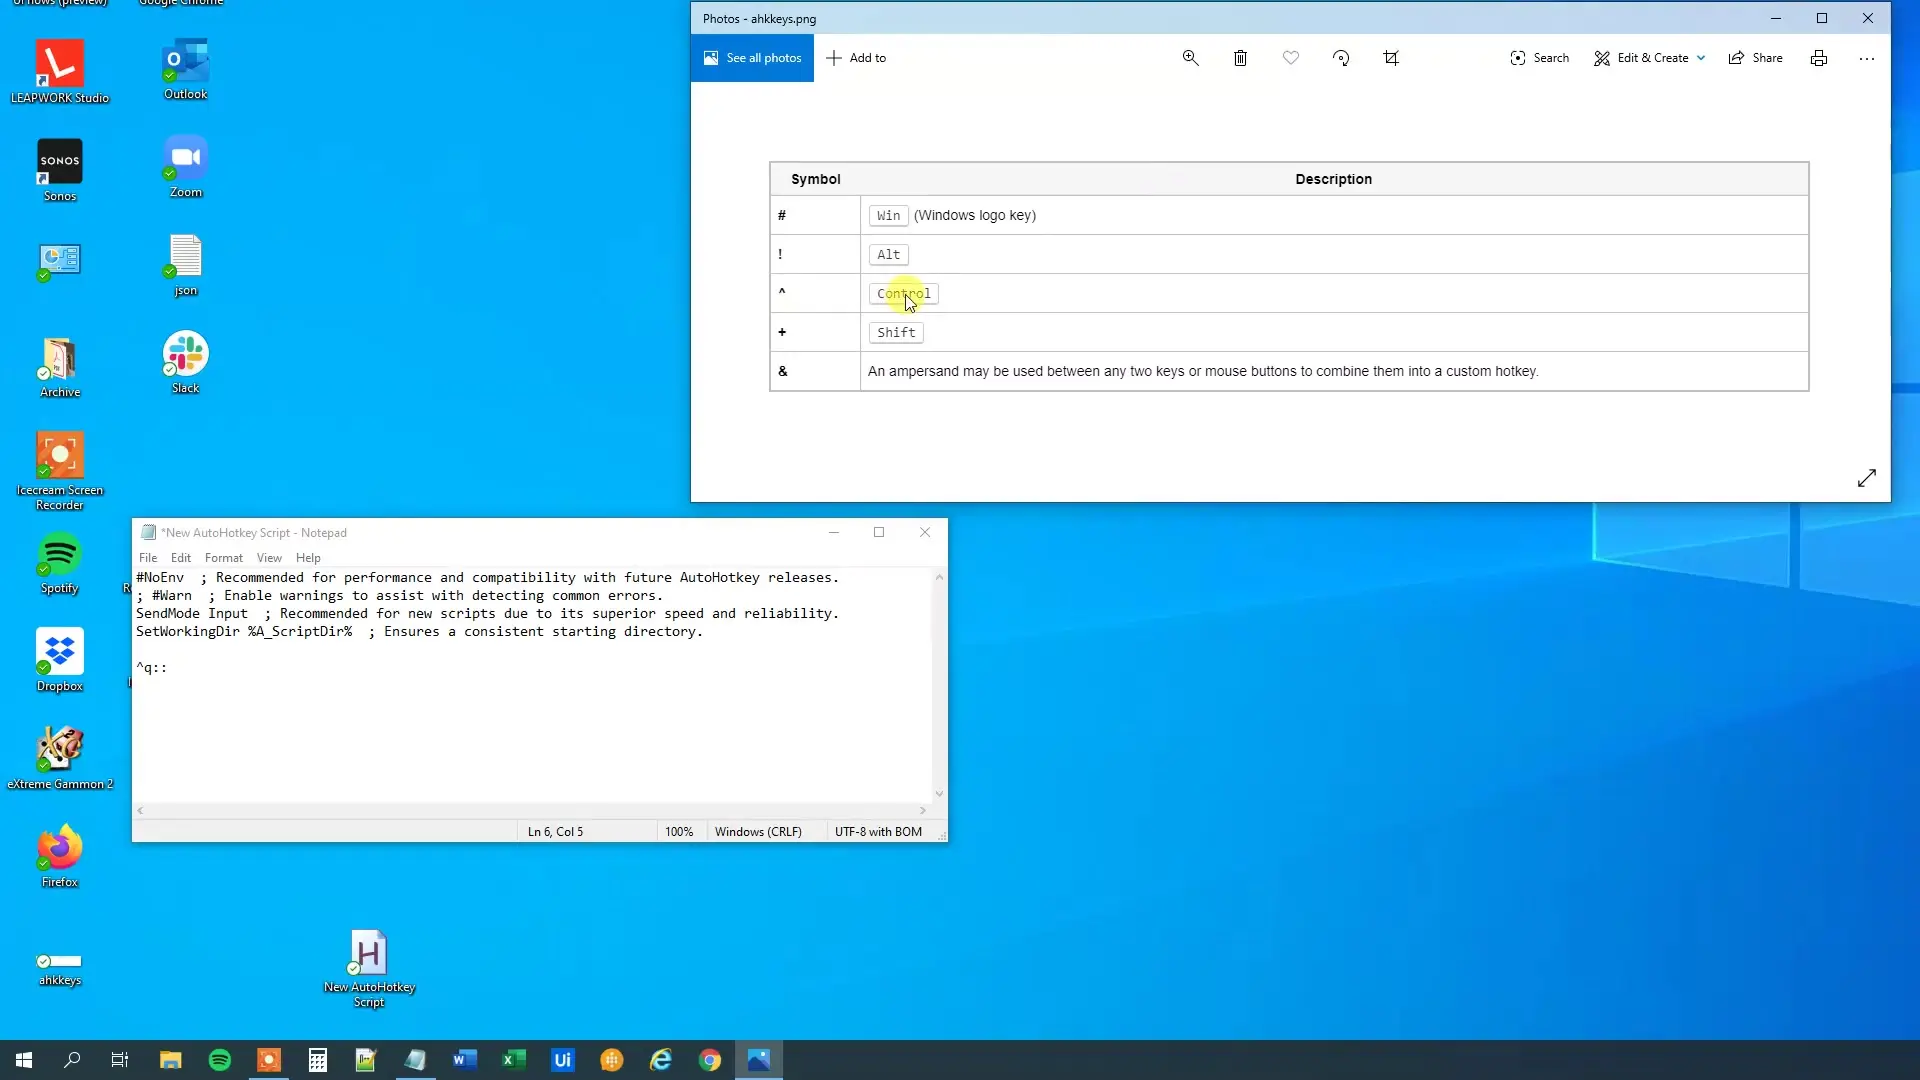
AutoHotkey uses special symbols to represent modifier keys, which can be combined to create complex key combinations. Understanding these symbols is essential for creating effective hotkeys.
You can combine these modifiers to create more complex hotkeys. For example, to create a hotkey that uses Ctrl+Win+Q, you would write:
^#q::
Run Notepad
returnThis flexibility allows you to create unique combinations that won't conflict with existing system shortcuts, giving you virtually unlimited options for your custom automation needs.
One of AutoHotkey's most powerful features is the ability to create context-sensitive hotkeys that behave differently depending on which window is active or exists. This allows you to create more intelligent automation that adapts to your current task.
There are two main ways to create context-sensitive hotkeys in AutoHotkey:
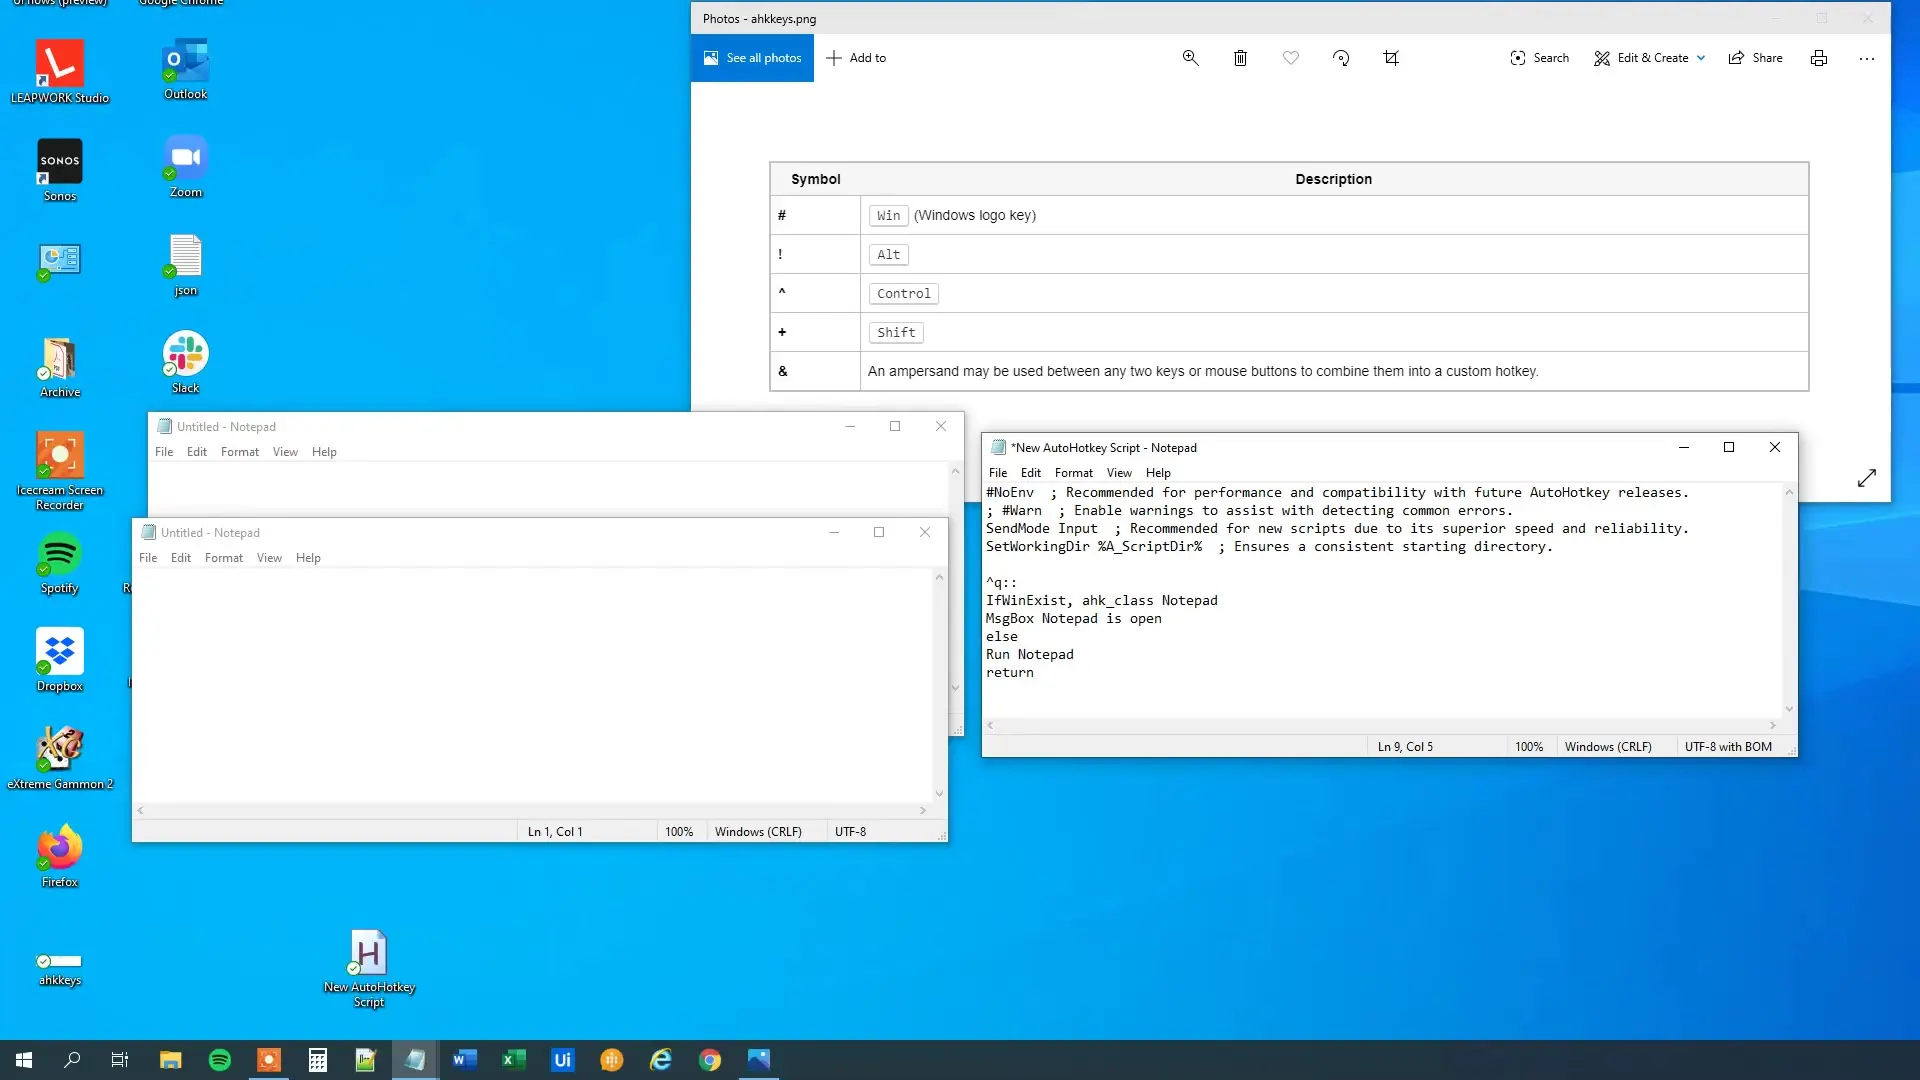
The IfWinExist command checks whether a specified window exists anywhere on the screen. This is useful when you want to prevent multiple instances of an application from being launched.
^q::
IfWinExist, ahk_class Notepad
{
    MsgBox, Notepad is already open.
}
else
{
    Run, Notepad
}
returnThis script checks if Notepad is already running. If it is, it displays a message box; if not, it launches Notepad. This prevents multiple instances of Notepad from being opened with repeated hotkey presses.
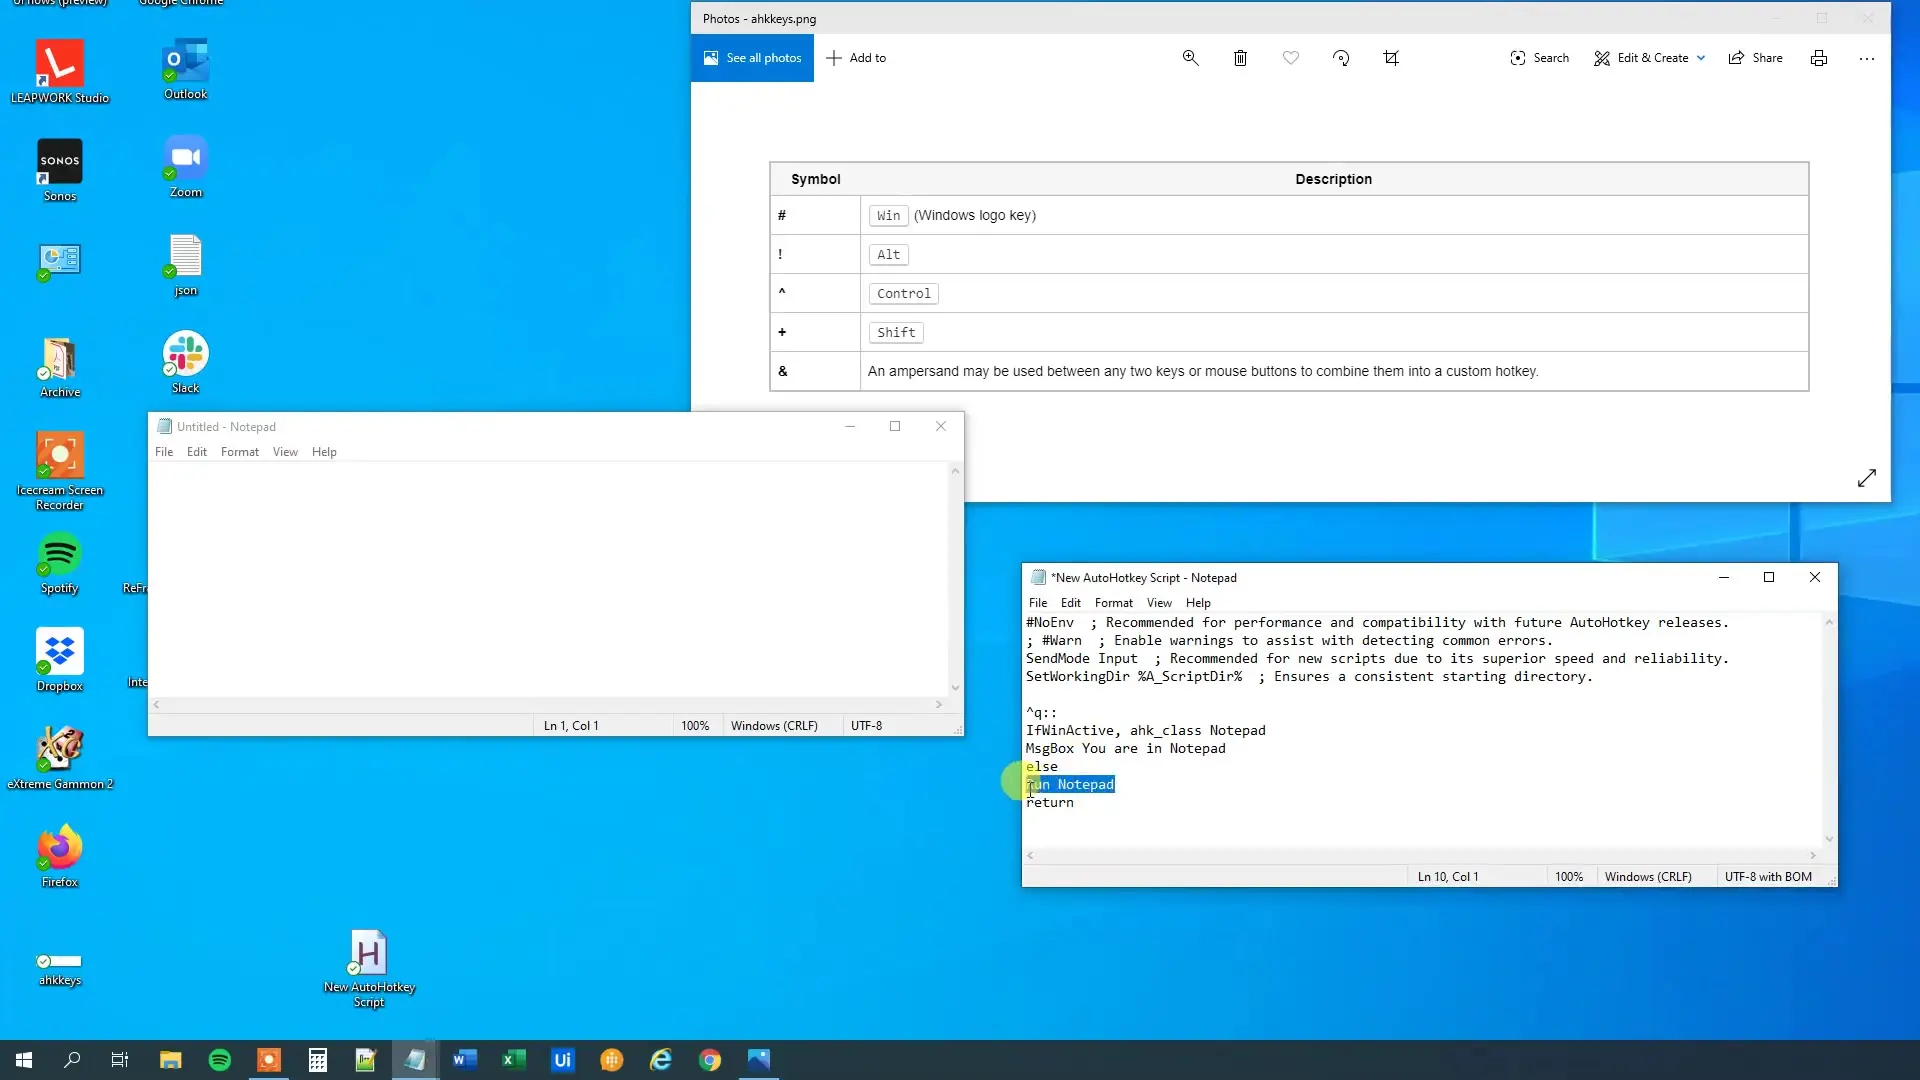
The IfWinActive command checks if a specific window is currently active (in focus). This allows you to create hotkeys that behave differently depending on which application you're currently using.
^q::
IfWinActive, ahk_class Notepad
{
    MsgBox, You are in Notepad.
}
else
{
    MsgBox, You are not working in Notepad.
}
returnThis script displays different messages depending on whether Notepad is the active window when you press Ctrl+Q. This type of context-sensitivity is incredibly useful for creating application-specific shortcuts.
Let's explore some practical examples of how you can use AutoHotkey hotkeys to enhance your productivity:
^!c::  ; Ctrl+Alt+C
IfWinExist ahk_class Chrome_WidgetWin_1
{
    WinActivate  ; Activate the window if it exists
}
else
{
    Run Chrome  ; Otherwise, launch Chrome
}
returnThis hotkey will either switch to Chrome if it's already running or launch it if it's not. This is more efficient than always launching a new instance.
#IfWinActive ahk_class Notepad
^d::  ; Ctrl+D in Notepad only
SendInput, {Raw}const currentDate = new Date().toLocaleDateString();
return

#IfWinActive ; Reset context sensitivityThis example uses the #IfWinActive directive to create a hotkey that works only in Notepad. When you press Ctrl+D in Notepad, it inserts a JavaScript date code snippet.
If your hotkeys aren't working as expected, consider these common issues and solutions:
As you become more comfortable with basic hotkeys, you can explore these advanced techniques:
AutoHotkey hotkeys provide a powerful way to customize your Windows experience and boost productivity. By mastering the basics of hotkey syntax, modifier keys, and context-sensitivity, you can create sophisticated automation that adapts to your workflow. Start with simple examples and gradually build more complex scripts as your understanding grows.
Whether you're automating repetitive tasks, creating application-specific shortcuts, or building complex workflows, AutoHotkey's hotkey functionality gives you the tools to make your computer work the way you want it to. With practice and experimentation, you'll discover countless ways to streamline your daily computing tasks and save valuable time.
Access our quantum knowledge cores and upgrade your programming abilities.
Initialize Training Sequence