How to Build and Deploy Next.js Full-Stack Applications in Minutes with Savala
Jamal Washington
Infrastructure Lead
When building modern web applications, developers often prioritize two critical factors: speed and simplicity. Next.js has emerged as a powerful React framework that excels in both areas, making it an excellent choice for full-stack development. In this comprehensive guide, we'll explore how to build a complete web application using Next.js and deploy it to the cloud using Savala.
Understanding Next.js: The Full-Stack Framework
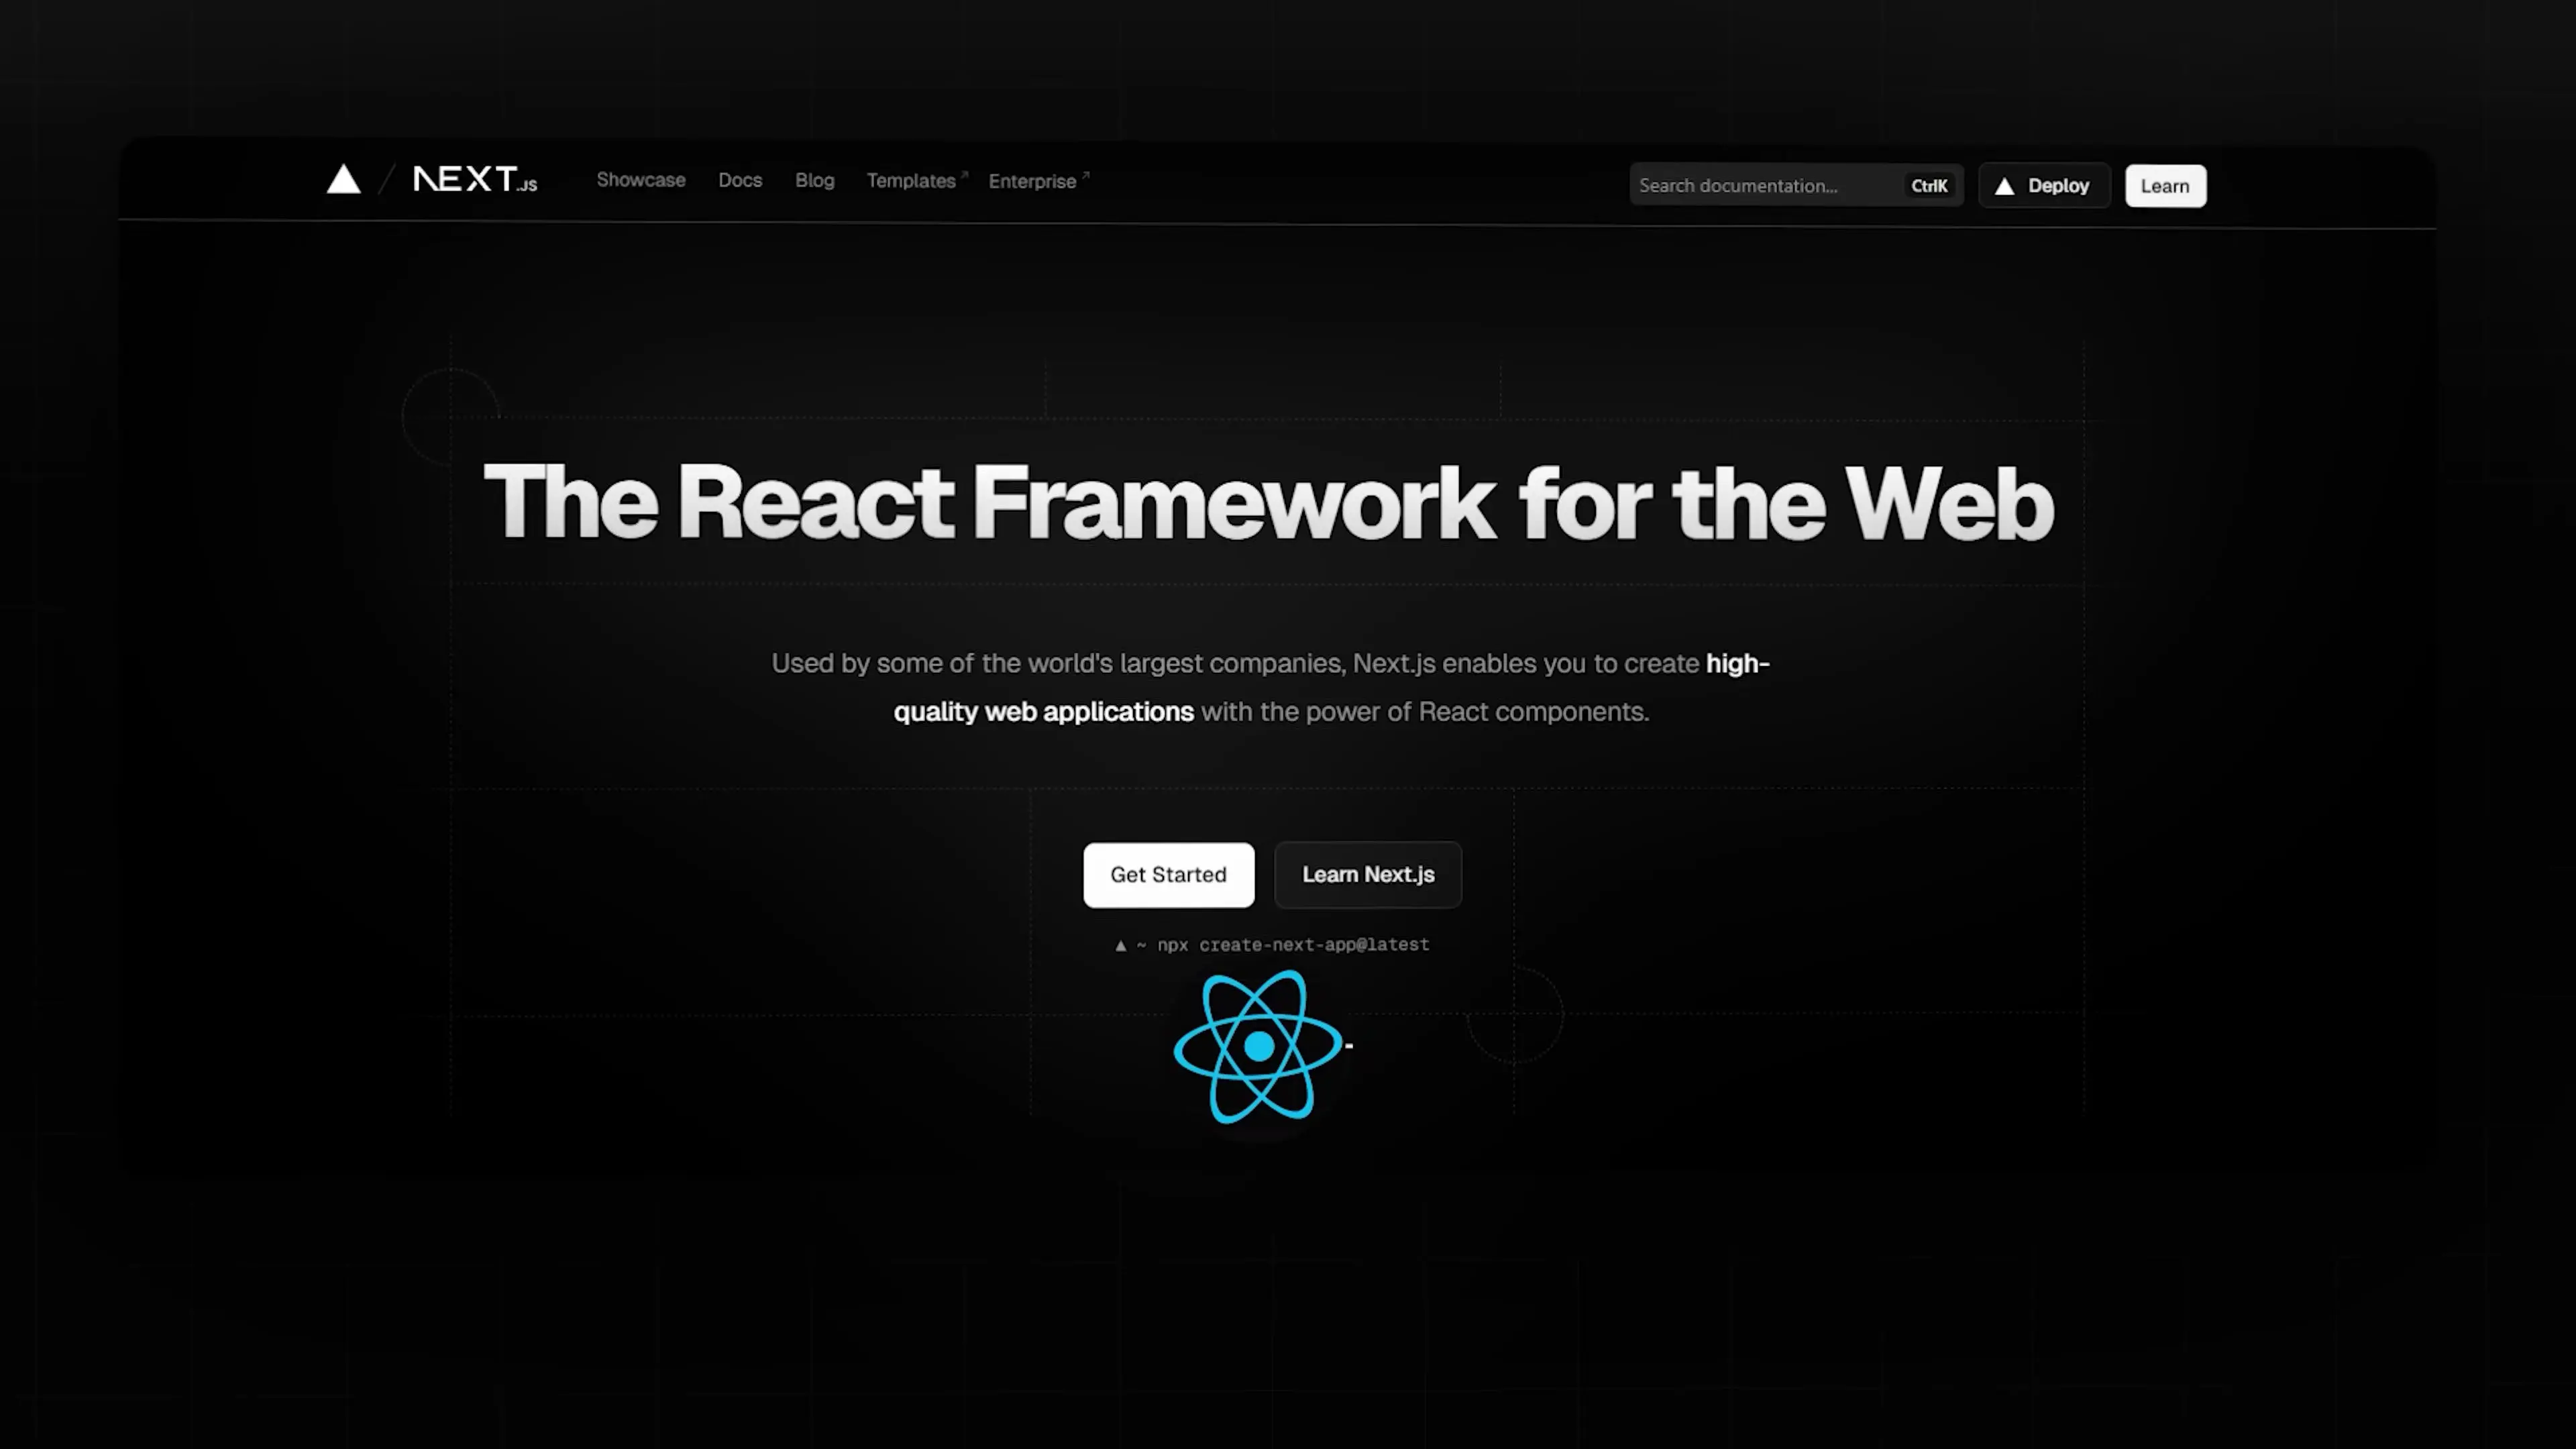
Next.js is more than just a React framework—it's a complete toolkit for building high-performance web applications. It provides several powerful features that simplify development while enhancing performance:
- Server-Side Rendering (SSR): Instead of sending an empty HTML shell to the browser, Next.js renders pages on the server first, delivering complete HTML content. This approach significantly improves both load times and SEO performance.
- Static Site Generation (SSG): Next.js can pre-render pages at build time, creating static HTML files that can be served instantly through a CDN. This approach provides lightning-fast performance while maintaining React's development experience.
- API Routes: You can create backend functionality within the same Next.js project, eliminating the need for a separate Express server.
- File-based Routing: Next.js uses a simple, intuitive file-based routing system where your folder structure directly maps to your application's URL structure.
- Built-in Performance Optimizations: Features like automatic image optimization, code splitting, and CSS module support come pre-configured.
The combination of these features makes Next.js an ideal choice for building full-stack applications without the complexity of managing separate frontend and backend codebases.
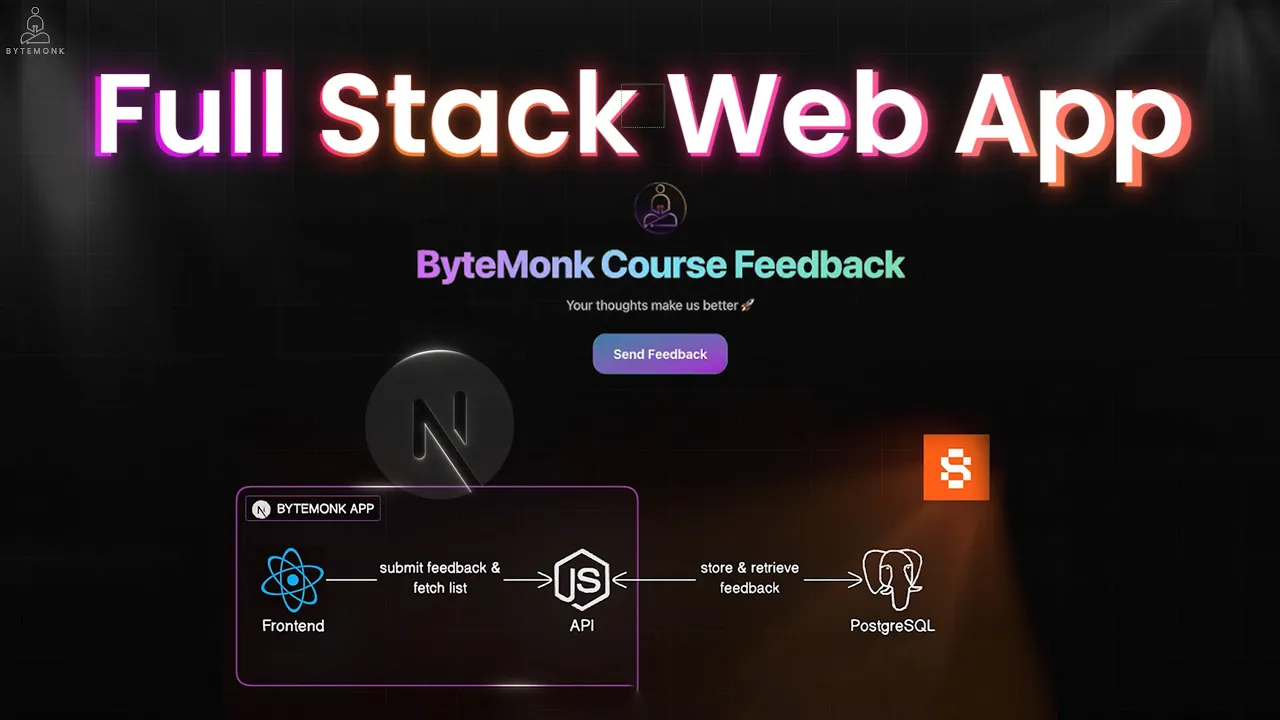
Project Overview: Building a Course Feedback Application
For this tutorial, we'll build a practical application called "Bitemunk Course Feedback" - a platform where users can submit and view feedback on online courses. Our tech stack will include:
- Frontend: React via Next.js
- Backend: Next.js API routes
- Database: PostgreSQL
The application will allow users to submit feedback with their name, email, course selection, rating, and comments. It will also display all submitted feedback for public viewing.
Setting Up Your Next.js Project
Let's start by creating a new Next.js application. Open your terminal and run the following command:
npx create-next-app@latest bitemunk-feedbackFollow the prompts to configure your project. You can choose TypeScript if you're comfortable with it, but JavaScript works fine for this tutorial. Once the setup is complete, navigate to your project directory:
cd bitemunk-feedback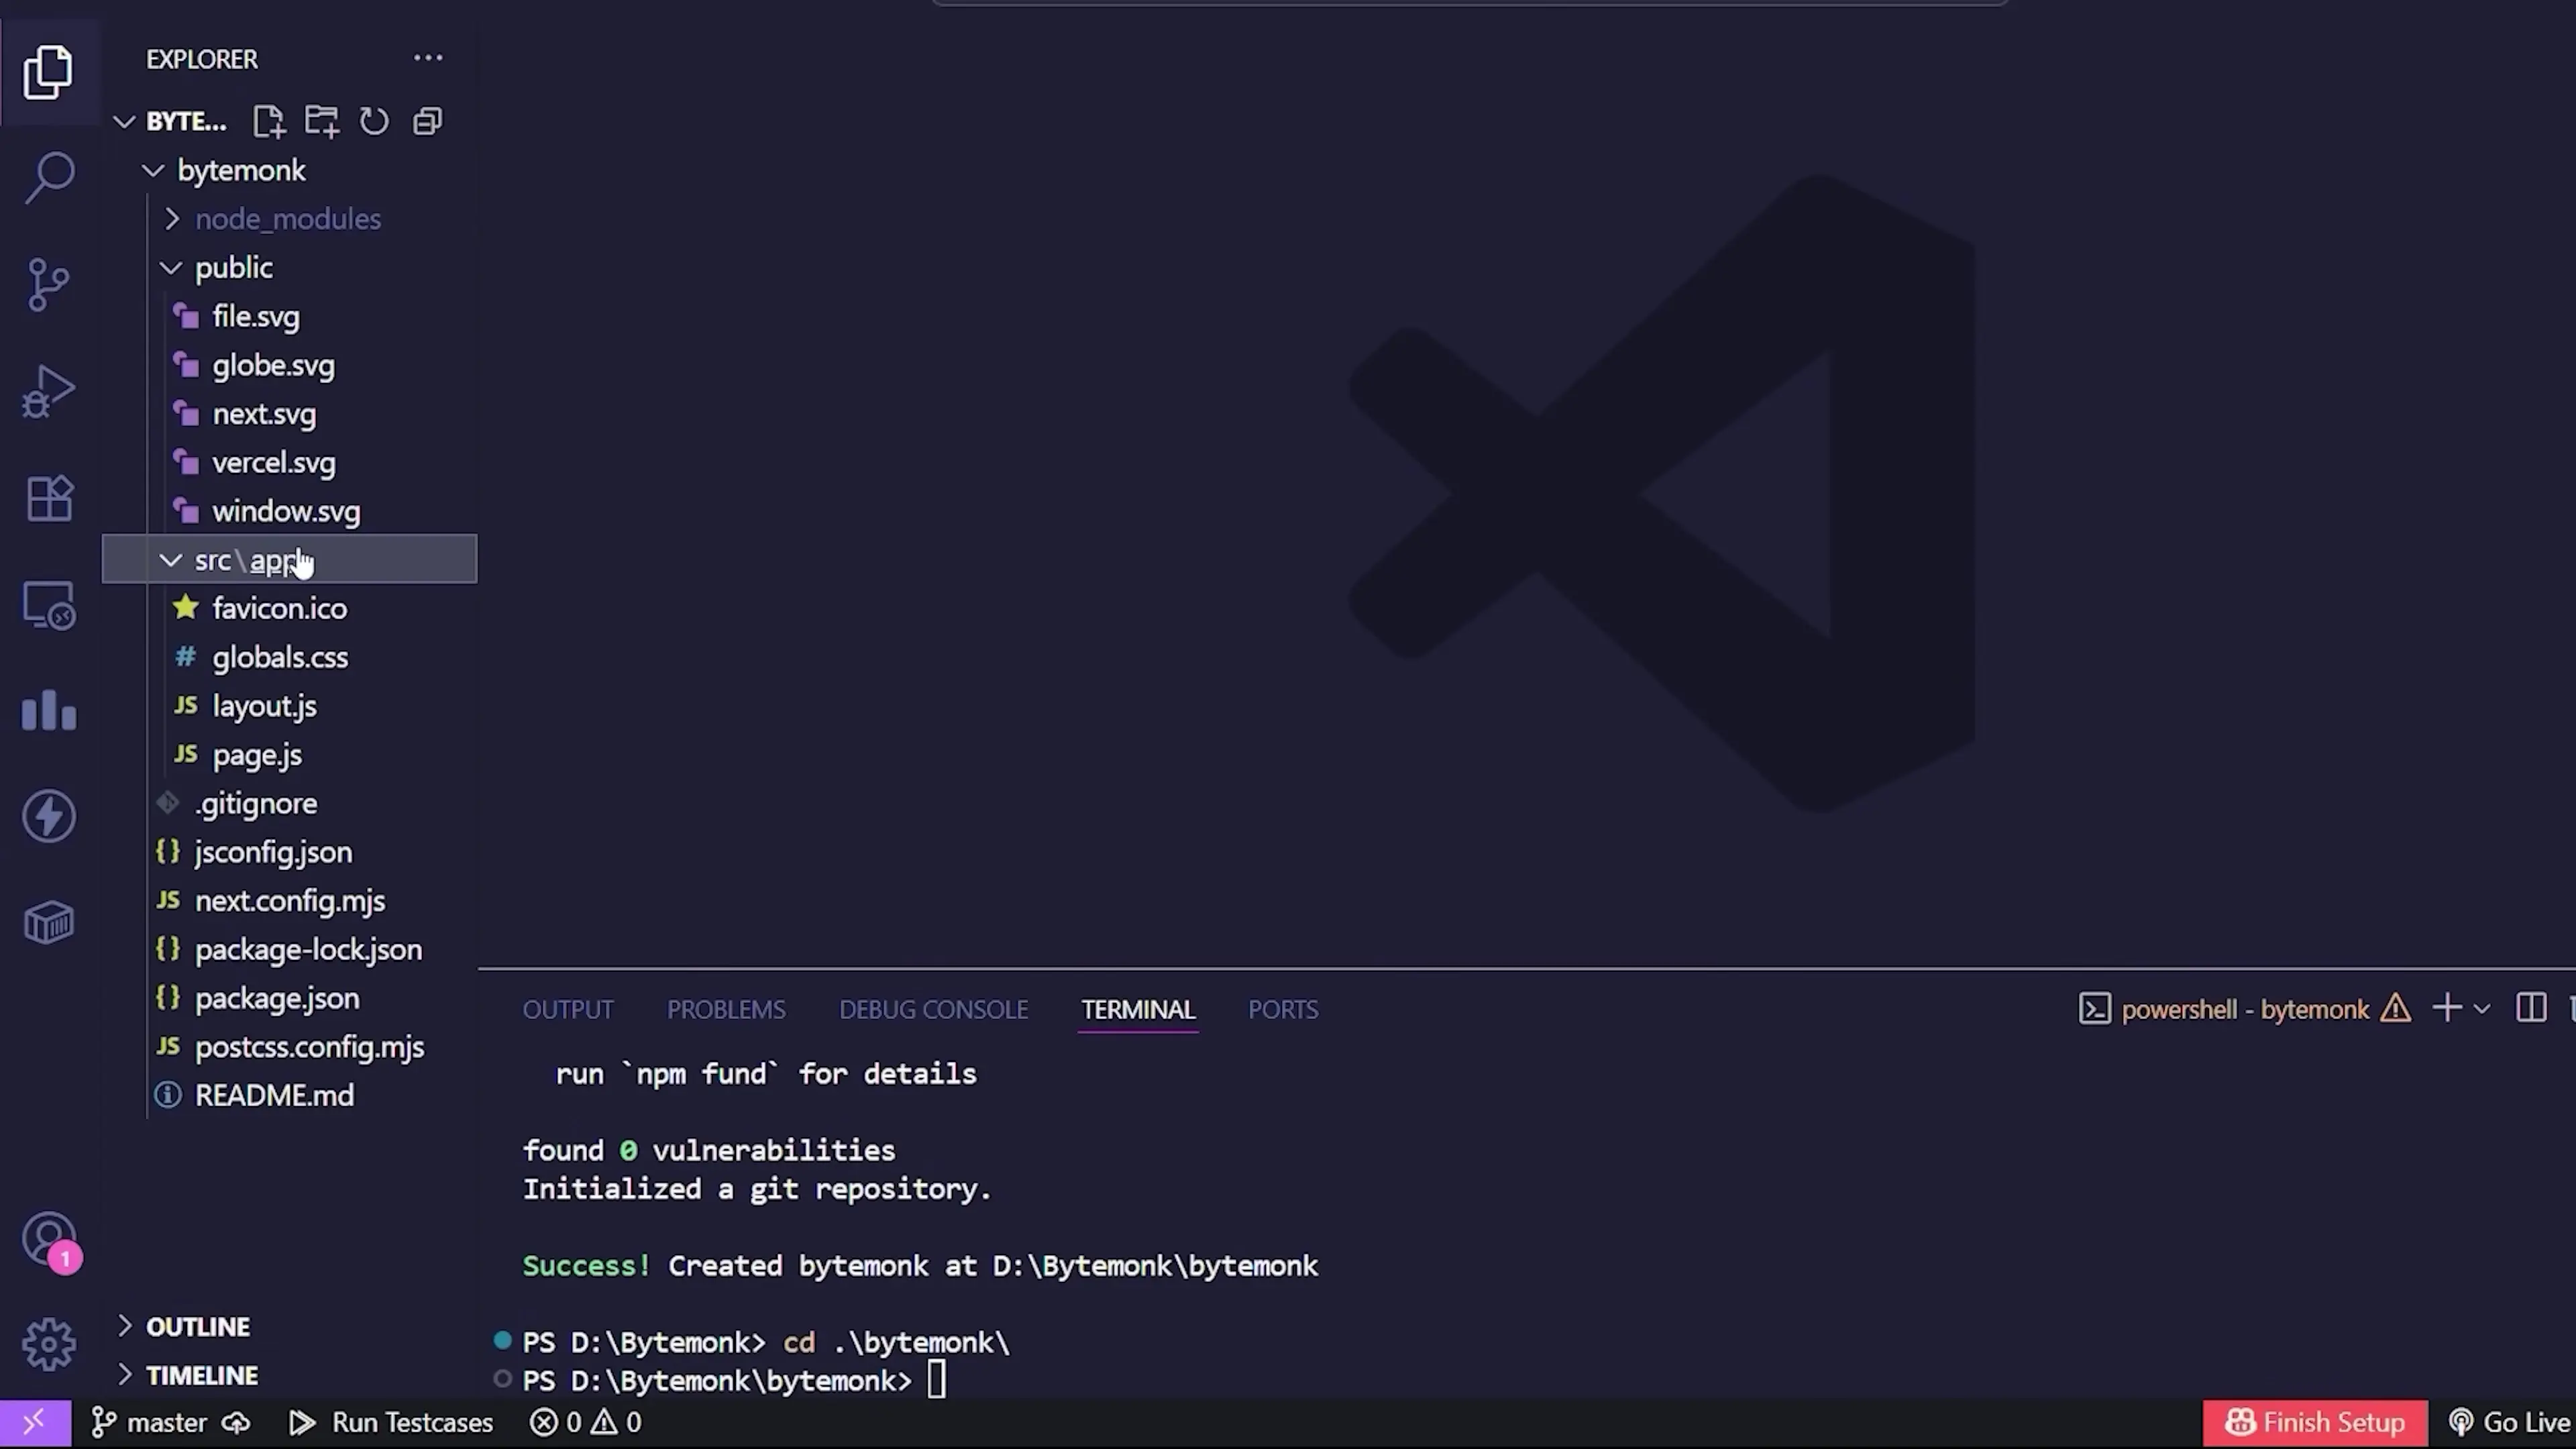
A fresh Next.js project includes a pages directory for your pages and API routes, a public folder for static assets, and several configuration files. This structure forms the foundation of our application.
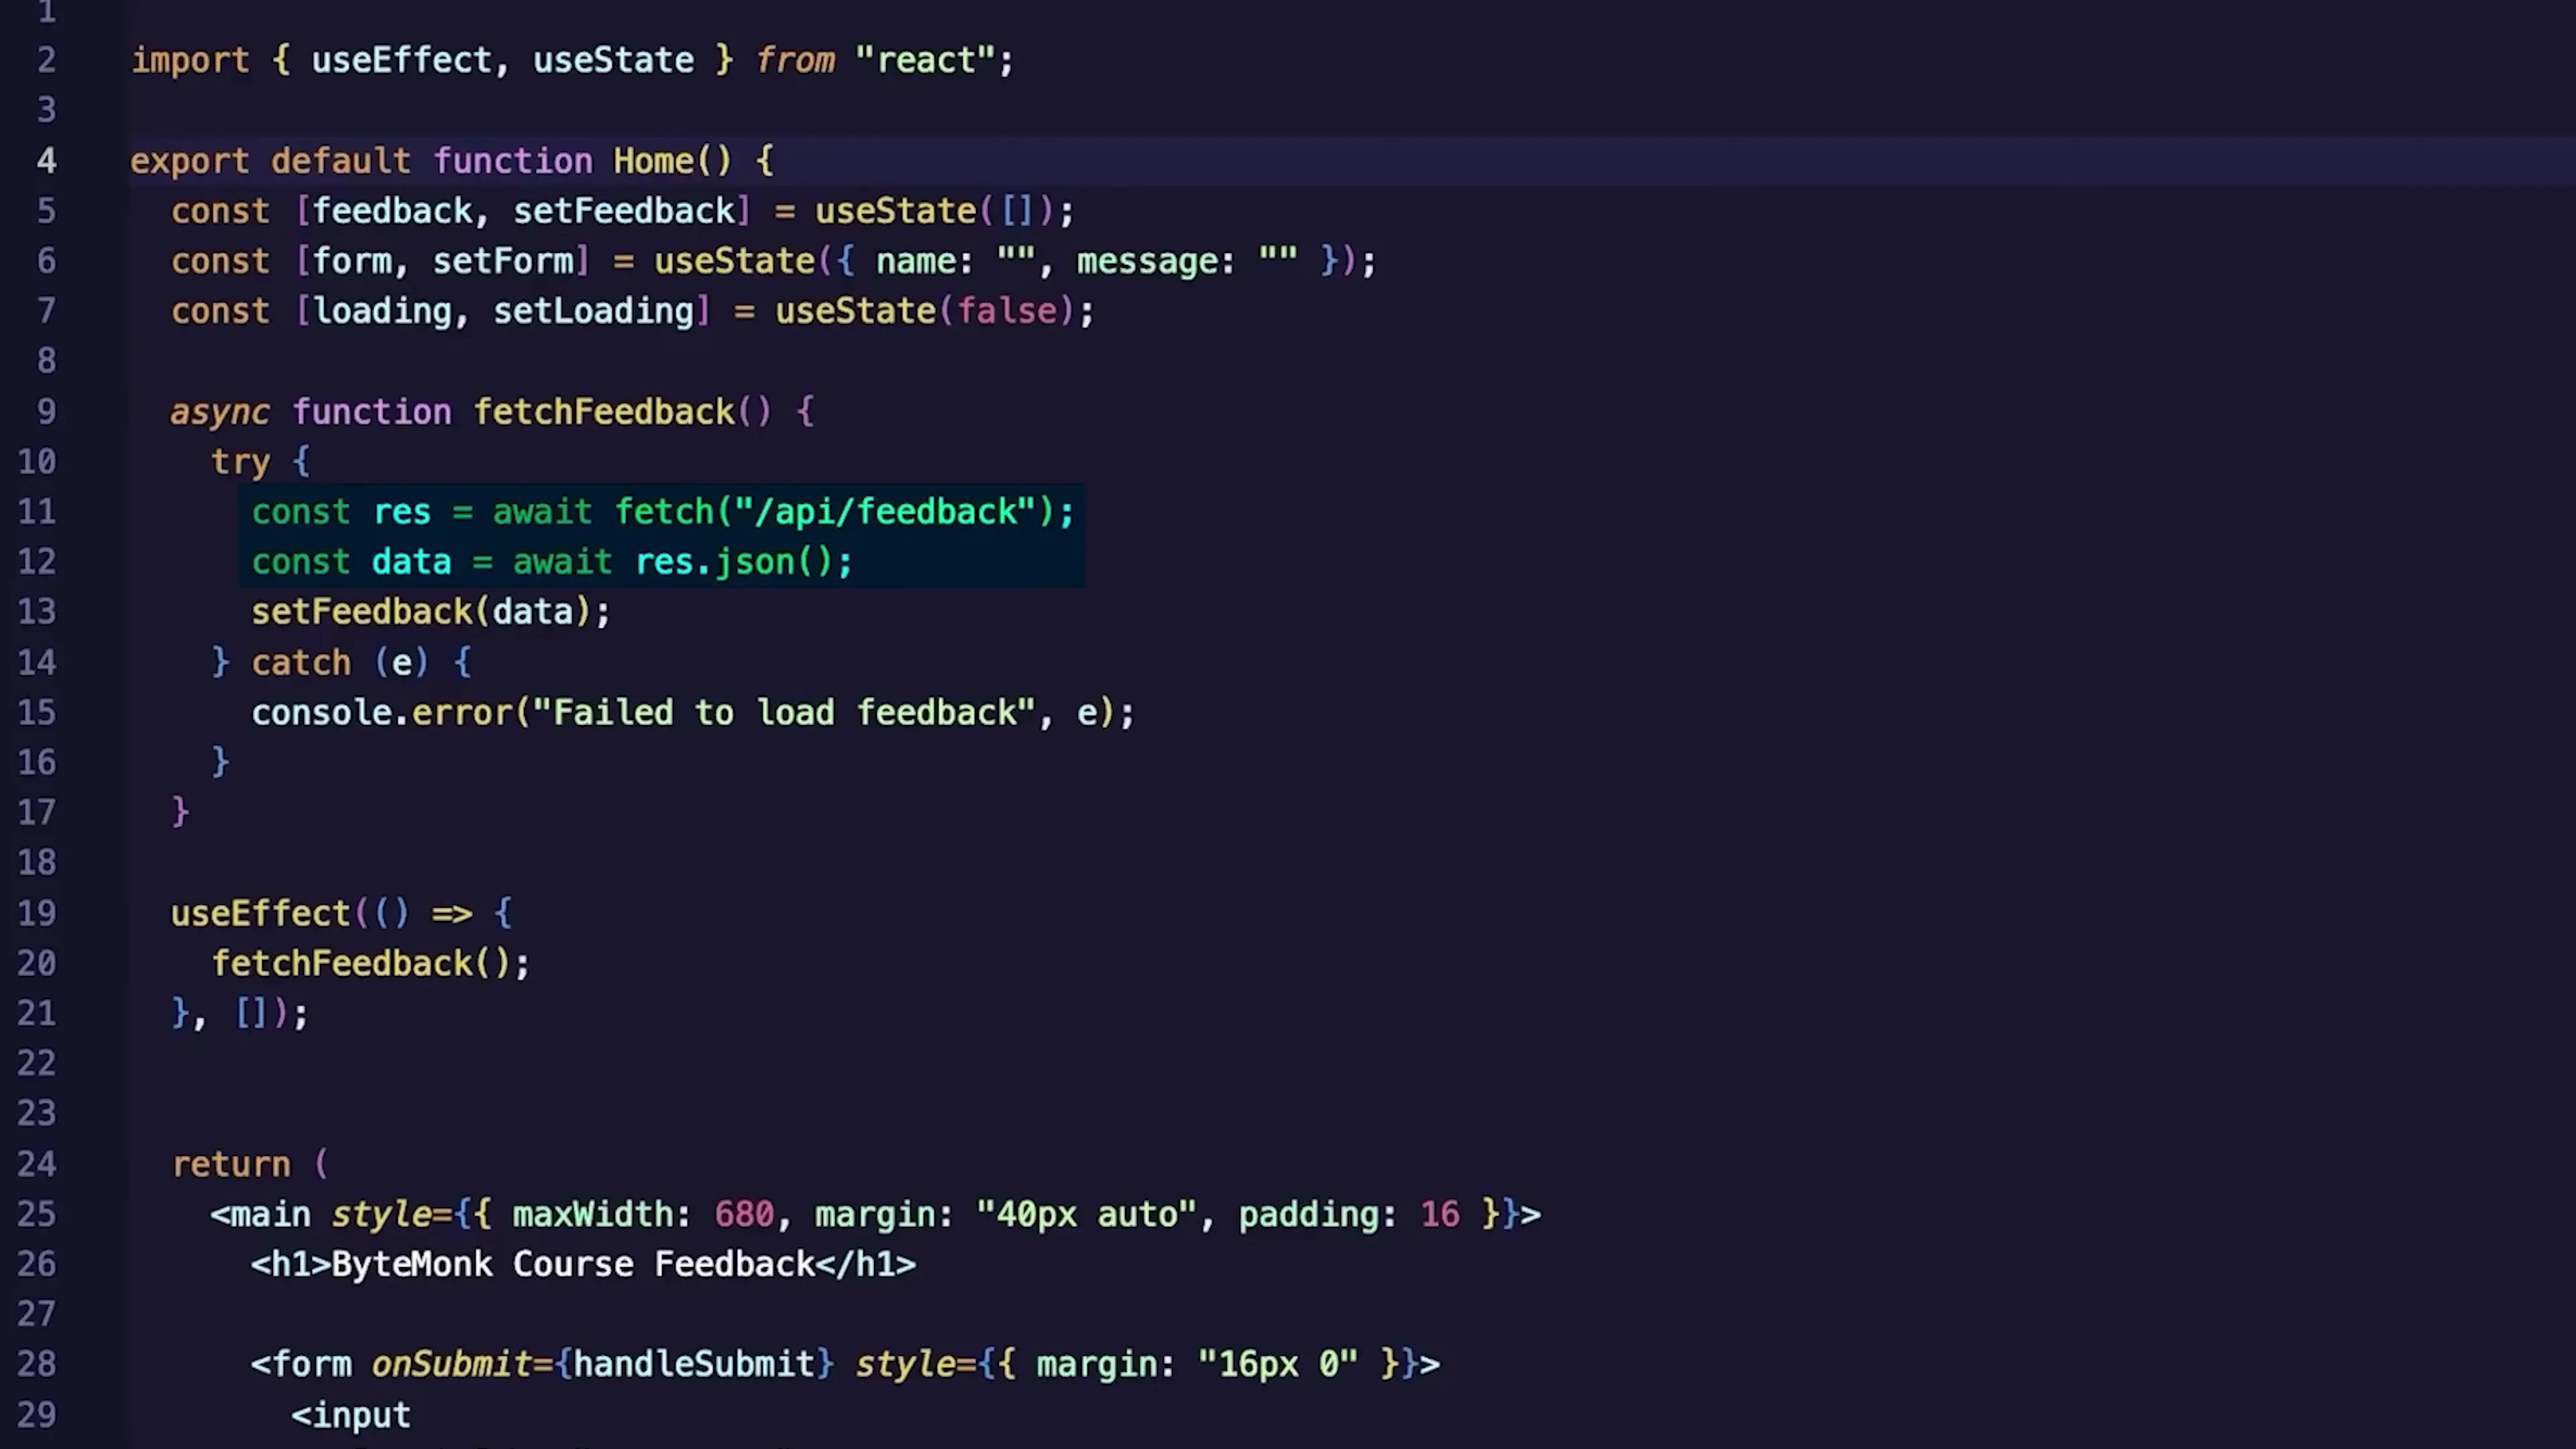
Building the Frontend Feedback Form
Let's create the frontend form where users can submit their course feedback. Open the pages/index.js file and replace its contents with the following code:
import { useState } from 'react';
import Head from 'next/head';

export default function Home() {
  const [name, setName] = useState('');
  const [email, setEmail] = useState('');
  const [course, setCourse] = useState('react-basics');
  const [rating, setRating] = useState(5);
  const [source, setSource] = useState('');
  const [message, setMessage] = useState('');
  const [feedbackList, setFeedbackList] = useState([]);

  // Fetch existing feedback when component mounts
  useState(() => {
    fetchFeedback();
  }, []);

  // Function to fetch feedback from our API
  const fetchFeedback = async () => {
    try {
      const response = await fetch('/api/feedback');
      const data = await response.json();
      setFeedbackList(data);
    } catch (error) {
      console.error('Error fetching feedback:', error);
    }
  };

  // Handle form submission
  const handleSubmit = async (e) => {
    e.preventDefault();

    // Create feedback object
    const feedback = {
      name,
      email,
      course,
      rating: parseInt(rating),
      source,
      message
    };

    try {
      // Send data to our API route
      const response = await fetch('/api/feedback', {
        method: 'POST',
        headers: {
          'Content-Type': 'application/json',
        },
        body: JSON.stringify(feedback),
      });

      if (response.ok) {
        // Clear form and refresh feedback list
        setName('');
        setEmail('');
        setCourse('react-basics');
        setRating(5);
        setSource('');
        setMessage('');
        fetchFeedback();
      }
    } catch (error) {
      console.error('Error submitting feedback:', error);
    }
  };

  return (
    <div className="container">
      <Head>
        <title>Bitemunk Course Feedback</title>
        <meta name="description" content="Submit and view feedback for Bitemunk courses" />
      </Head>

      <main>
        <h1>Bitemunk Course Feedback</h1>

        {/* Feedback Form */}
        <div className="form-container">
          <h2>Submit Your Feedback</h2>
          <form onSubmit={handleSubmit}>
            <div className="form-group">
              <label htmlFor="name">Name</label>
              <input
                type="text"
                id="name"
                value={name}
                onChange={(e) => setName(e.target.value)}
                required
              />
            </div>

            <div className="form-group">
              <label htmlFor="email">Email</label>
              <input
                type="email"
                id="email"
                value={email}
                onChange={(e) => setEmail(e.target.value)}
                required
              />
            </div>

            <div className="form-group">
              <label htmlFor="course">Course</label>
              <select
                id="course"
                value={course}
                onChange={(e) => setCourse(e.target.value)}
                required
              >
                <option value="react-basics">React Basics</option>
                <option value="nextjs-fundamentals">Next.js Fundamentals</option>
                <option value="node-backend">Node.js Backend</option>
                <option value="fullstack-app">Full Stack Application</option>
              </select>
            </div>

            <div className="form-group">
              <label htmlFor="rating">Rating (1-5)</label>
              <input
                type="number"
                id="rating"
                min="1"
                max="5"
                value={rating}
                onChange={(e) => setRating(e.target.value)}
                required
              />
            </div>

            <div className="form-group">
              <label htmlFor="source">How did you hear about us?</label>
              <input
                type="text"
                id="source"
                value={source}
                onChange={(e) => setSource(e.target.value)}
              />
            </div>

            <div className="form-group">
              <label htmlFor="message">Your Feedback</label>
              <textarea
                id="message"
                value={message}
                onChange={(e) => setMessage(e.target.value)}
                required
              ></textarea>
            </div>

            <div className="button-group">
              <button type="submit">Submit Feedback</button>
              <button type="button" onClick={() => {
                setName('');
                setEmail('');
                setCourse('react-basics');
                setRating(5);
                setSource('');
                setMessage('');
              }}>Cancel</button>
            </div>
          </form>
        </div>

        {/* Feedback List */}
        <div className="feedback-list">
          <h2>Recent Feedback</h2>
          {feedbackList.length === 0 ? (
            <p>No feedback submitted yet.</p>
          ) : (
            feedbackList.map((item, index) => (
              <div key={index} className="feedback-item">
                <h3>{item.name} - {item.course}</h3>
                <div className="rating">Rating: {item.rating}/5</div>
                <p>{item.message}</p>
              </div>
            ))
          )}
        </div>
      </main>
    </div>
  );
}This code creates a form with fields for name, email, course selection, rating, source, and feedback message. When submitted, it sends the data to our API route (which we'll create next) and then refreshes the feedback list.
Creating the Backend API with Next.js API Routes
One of Next.js's most powerful features is its built-in API routes functionality. Let's create an API route to handle our feedback submissions and retrievals.
Create a new file at pages/api/feedback.js with the following code:
import { Pool } from 'pg';

// Create PostgreSQL connection pool
const pool = new Pool({
  connectionString: process.env.DATABASE_URL,
  ssl: process.env.NODE_ENV === 'production' ? { rejectUnauthorized: false } : false
});

export default async function handler(req, res) {
  // Handle GET request (fetch all feedback)
  if (req.method === 'GET') {
    try {
      const result = await pool.query(
        'SELECT * FROM feedback ORDER BY created_at DESC'
      );
      return res.status(200).json(result.rows);
    } catch (error) {
      console.error('Database error:', error);
      return res.status(500).json({ error: 'Failed to fetch feedback' });
    }
  }

  // Handle POST request (submit new feedback)
  else if (req.method === 'POST') {
    const { name, email, course, rating, source, message } = req.body;

    // Basic validation
    if (!name || !email || !course || !rating || !message) {
      return res.status(400).json({ error: 'Missing required fields' });
    }

    try {
      // Insert new feedback into database
      const result = await pool.query(
        'INSERT INTO feedback (name, email, course, rating, source, message) VALUES ($1, $2, $3, $4, $5, $6) RETURNING *',
        [name, email, course, rating, source, message]
      );

      return res.status(201).json(result.rows[0]);
    } catch (error) {
      console.error('Database error:', error);
      return res.status(500).json({ error: 'Failed to submit feedback' });
    }
  }

  // Handle unsupported methods
  else {
    res.setHeader('Allow', ['GET', 'POST']);
    return res.status(405).json({ error: `Method ${req.method} Not Allowed` });
  }
}
This API route handles both GET requests (to fetch all feedback) and POST requests (to submit new feedback). It connects to a PostgreSQL database using the node-postgres (pg) package.
You'll need to install the pg package by running:
npm install pgSetting Up the PostgreSQL Database
For local development, you'll need to set up a PostgreSQL database. If you don't have PostgreSQL installed, you can download it from the official website or use a Docker container.
Once you have PostgreSQL running, create a new database and table for our feedback application:
CREATE TABLE feedback (
  id SERIAL PRIMARY KEY,
  name VARCHAR(100) NOT NULL,
  email VARCHAR(100) NOT NULL,
  course VARCHAR(100) NOT NULL,
  rating INTEGER NOT NULL,
  source VARCHAR(100),
  message TEXT NOT NULL,
  created_at TIMESTAMP DEFAULT CURRENT_TIMESTAMP
);Create a .env.local file in your project root to store your database connection string:
DATABASE_URL=postgresql://username:password@localhost:5432/feedback_dbReplace username, password, and feedback_db with your PostgreSQL credentials and database name.
Testing the Application Locally
Now it's time to test our application locally. Run the development server with:
npm run devOpen your browser and navigate to http://localhost:3000. You should see the feedback form and an empty list of feedback entries. Try submitting some feedback to test if everything works correctly.
Deploying to Savala
With our application working locally, let's deploy it to the cloud using Savala. Savala provides a platform for deploying both our Next.js application and PostgreSQL database together.
Step 1: Create a Savala Account
First, sign up for a Savala account at their website. They offer free credits to get started, which is perfect for testing our application.
Step 2: Set Up a PostgreSQL Database on Savala
In the Savala dashboard, find the option to add a new database and select PostgreSQL. Savala will provision a fully managed PostgreSQL database for you.
Once created, copy the database connection URL—you'll need it for your application's environment variables.
Step 3: Deploy the Next.js Application
Connect your GitHub repository to Savala and select the repository containing your Next.js project. Choose the same region as your database for optimal performance.
Before deploying, set up the DATABASE_URL environment variable in Savala using the connection string from your PostgreSQL database.
Click the deploy button, and Savala will build and deploy your Next.js application. Behind the scenes, your app will run on Google Kubernetes Engine (GKE) in your selected region.
Advantages of Using Savala for Next.js Deployment
Savala offers several benefits for deploying Next.js applications compared to other platforms:
- Unlimited collaborators with no extra cost, unlike platforms that charge per team seat
- Usage-based pricing instead of fixed server size plans, so you only pay for what you use
- Managed databases (PostgreSQL, Redis, etc.) available directly within the platform
- S3-compatible object storage for handling user uploads and static assets
- Enterprise-grade infrastructure running on Google Cloud's Kubernetes Engine
These features make Savala particularly well-suited for startups, hobby projects, and open-source collaborations where multiple developers need access to the deployment platform.
Conclusion
In this tutorial, we've built a full-stack Next.js application with frontend components, backend API routes, and PostgreSQL database integration. We've then deployed it to Savala, a cloud platform that simplifies the deployment process.
Next.js proves to be an excellent framework for full-stack development, allowing you to build both frontend and backend components within a single project. Combined with Savala's deployment platform, you can quickly bring your applications to production with minimal setup and configuration.
Whether you're building a simple feedback form like our example or a more complex application, this stack provides a solid foundation for modern web development.
Let's Watch!
Build & Deploy Next.js Full-Stack Apps in Minutes with Savala
Ready to enhance your neural network?
Access our quantum knowledge cores and upgrade your programming abilities.
Initialize Training Sequence