5 Structured Prompts to Build a Powerful MCP Server: A Practical AI-Assisted Development Guide
Eleanor Park
Developer Advocate
Building an MCP server doesn't have to be a complex process when you leverage AI-assisted development techniques. This guide demonstrates how to create a functional MCP server in TypeScript using just five structured prompts, connecting it to GitHub's API, and implementing proper architecture patterns. Whether you're new to MCP servers or looking to improve your development workflow, this approach offers a practical way to create robust server implementations.
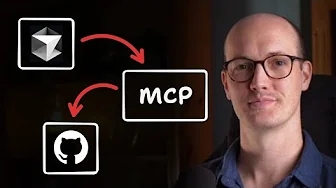
What is an MCP Server?
An MCP (Model-Client-Protocol) server provides a standardized way for AI models to communicate with client applications. Unlike traditional servers, MCP servers are specifically designed to handle AI model interactions, making them essential for modern AI-integrated applications. By establishing a common protocol, MCP servers enable seamless communication between AI models and various client interfaces.
Prompt 1: Setting Up the Basic MCP Server Structure
The first step in building an MCP server is setting up the basic file structure and dependencies. Using a structured prompt format significantly improves the quality of AI-generated code and ensures a solid foundation for your project.
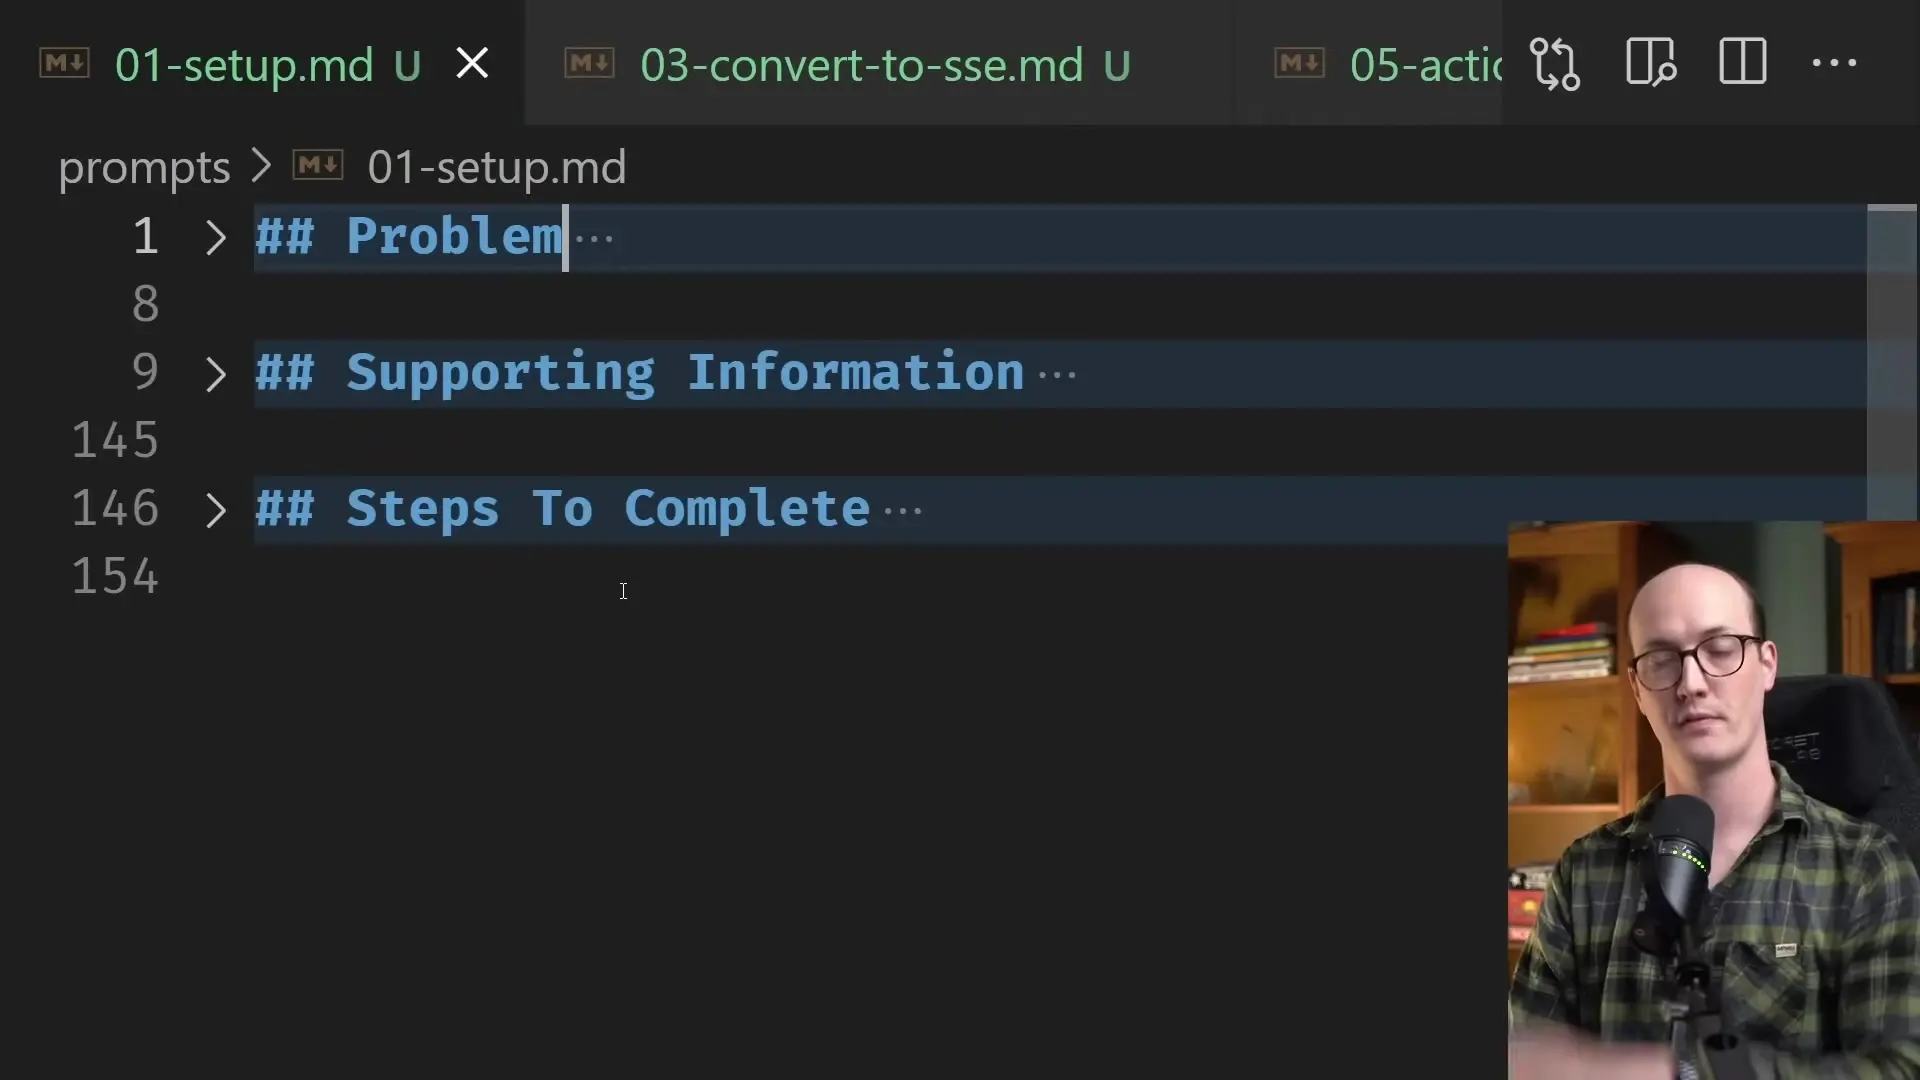
A well-structured prompt should include three main sections:
- Problem: A clear description of what you're trying to accomplish
- Supporting Information: Details the AI needs to complete the task
- Steps to Complete: Specific actions in sequence to achieve the goal
For our initial setup, we need to create the essential files for an MCP server written in TypeScript. This includes configuring TypeScript, setting up the package.json with proper dependencies, and establishing the basic server structure.
// tsconfig.json
{
  "compilerOptions": {
    "target": "ESNext",
    "module": "NodeNext",
    "moduleResolution": "NodeNext",
    "esModuleInterop": true,
    "outDir": "./dist",
    "strict": true
  },
  "include": ["src/**/*"]
}The initial prompt should guide the AI to create a basic file structure including a main.ts file, appropriate TypeScript configuration, and a package.json with essential dependencies like the Model Context Protocol SDK.
Prompt 2: Connecting to GitHub API
Once the basic structure is in place, the next step is to enhance our MCP server by connecting it to GitHub's API. This allows the server to interact with repositories, issues, and pull requests.
For this step, we'll use Octokit, GitHub's official SDK, to handle API communications. Our prompt should specify the GitHub functionalities we want to implement and provide guidance on structuring the code.
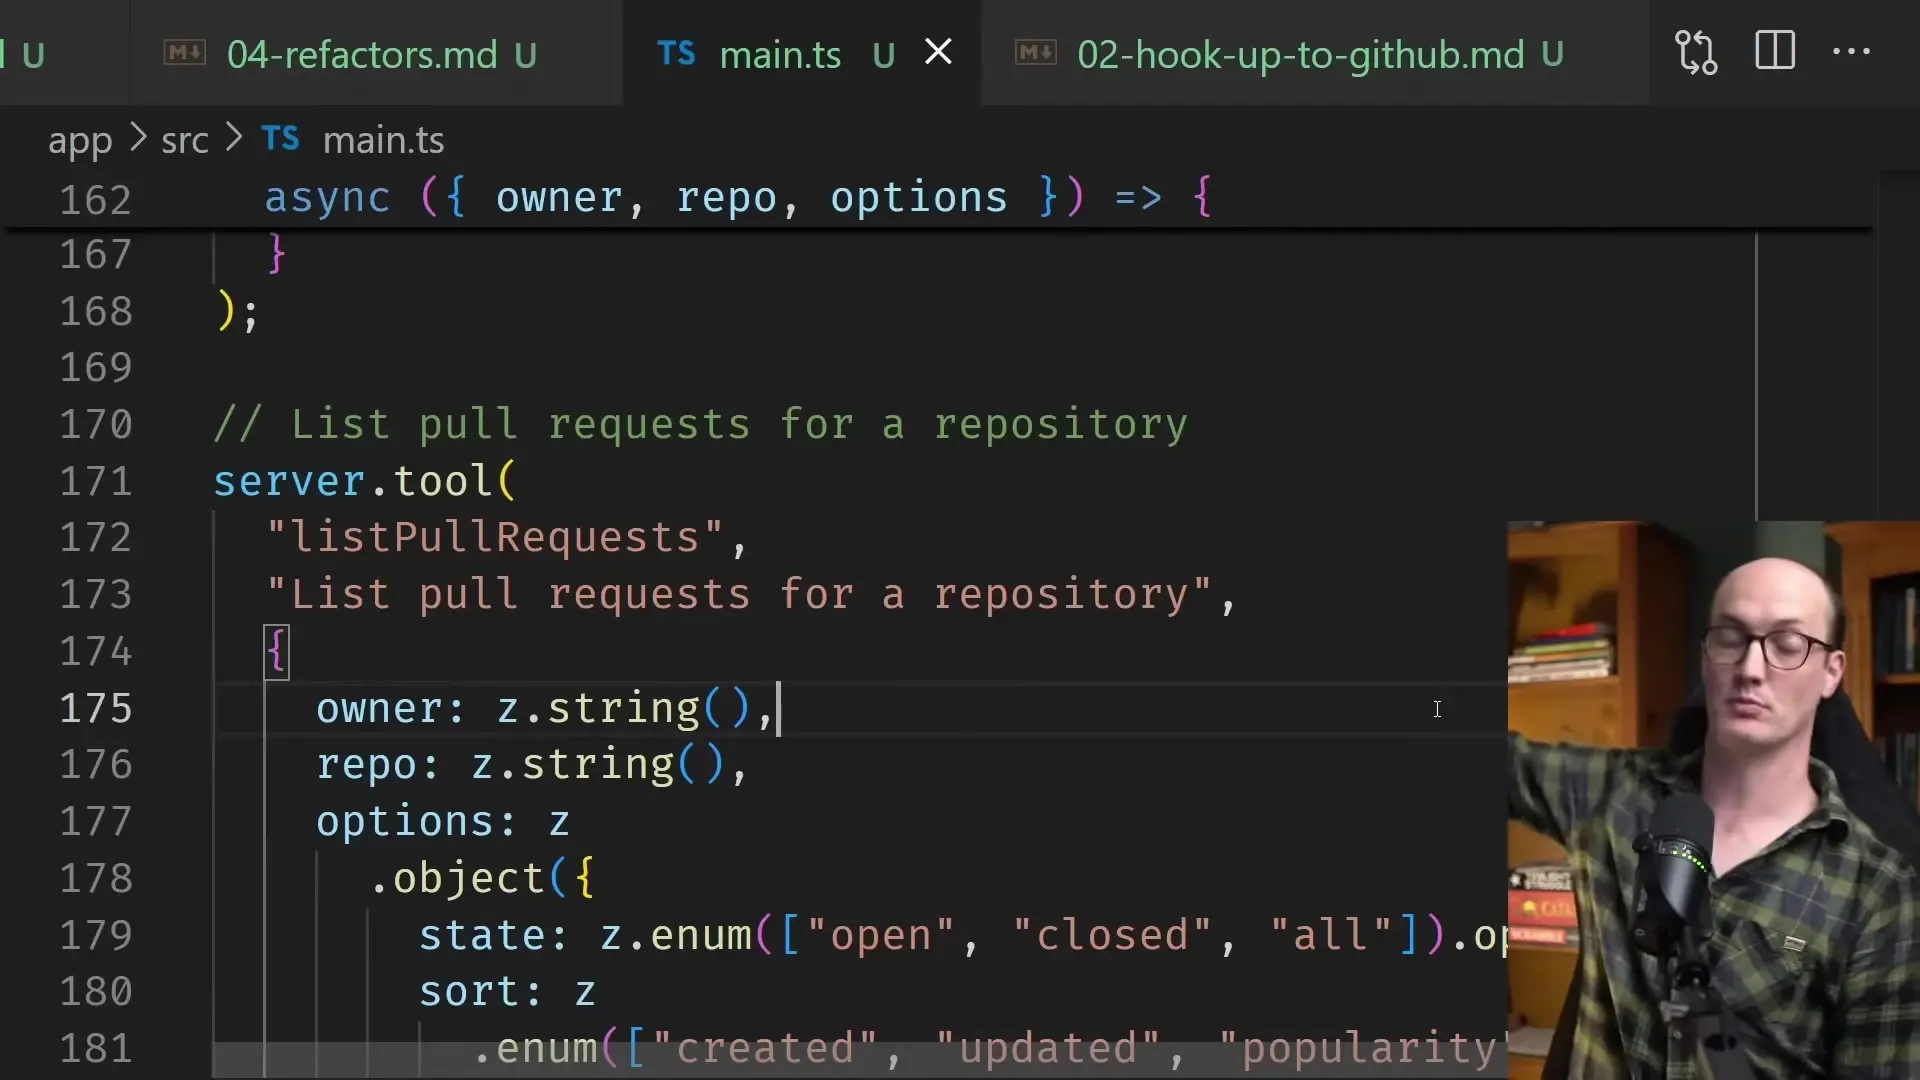
The implementation includes creating tools for various GitHub operations:
- Listing pull requests from repositories
- Creating and managing issues
- Adding comments to pull requests
- Fetching repository details
// Example of a GitHub tool implementation
server.tool("listPullRequests", {
  description: "List pull requests from a GitHub repository",
  parameters: z.object({
    owner: z.string().describe("Repository owner"),
    repo: z.string().describe("Repository name"),
    options: z.object({
      state: z.enum(["open", "closed", "all"]).default("open").optional(),
      sort: z.enum(["created", "updated", "popularity"]).default("created").optional(),
      direction: z.enum(["asc", "desc"]).default("desc").optional()
    }).optional()
  }),
  handler: async ({ owner, repo, options }) => {
    const pulls = await octokit.rest.pulls.list({
      owner,
      repo,
      ...options
    });
    return pulls.data;
  }
});Prompt 3: Converting to SSE Transport
By default, MCP servers use standard I/O for communication, but this can cause compatibility issues in certain environments like WSL (Windows Subsystem for Linux). Converting to Server-Sent Events (SSE) using Express provides a more reliable transport mechanism.
The implementation requires installing Express and setting up an SSE endpoint:
import express from 'express';
import { createServer } from '@mcp/server';
import { createExpressTransport } from '@mcp/server/transports/express';

const app = express();
app.use(express.json());

const transport = createExpressTransport({ app });
const server = createServer({ transport });

// Add tools to server here

app.listen(8080, () => {
  console.log('MCP server running on port 8080');
});This setup allows the MCP server to communicate via HTTP, making it compatible with more environments and client applications. The server runs on port 8080 and can be accessed by MCP clients configured to use SSE transport.
Prompt 4: Refactoring for Better Architecture
As the MCP server grows in complexity, it's important to refactor the codebase for better maintainability. The fourth prompt focuses on breaking up large files into smaller, domain-specific modules.
Good file organization is particularly important when working with AI-assisted development. When files have clear purposes and are properly structured, the AI can more easily understand and modify the codebase without introducing errors.
- Separate GitHub functionality into dedicated files
- Create a server directory for transport and configuration
- Simplify the main.ts file to focus on initialization
- Update documentation to reflect the new structure
// New file structure
// src/
//   ├── github/
//   │   ├── issues.ts
//   │   ├── pullRequests.ts
//   │   └── index.ts
//   ├── server/
//   │   ├── transport.ts
//   │   └── app.ts
// └── main.tsThis refactoring makes the codebase more maintainable and easier to extend with new features. Each file has a clear responsibility, and the main entry point becomes simpler and more focused.
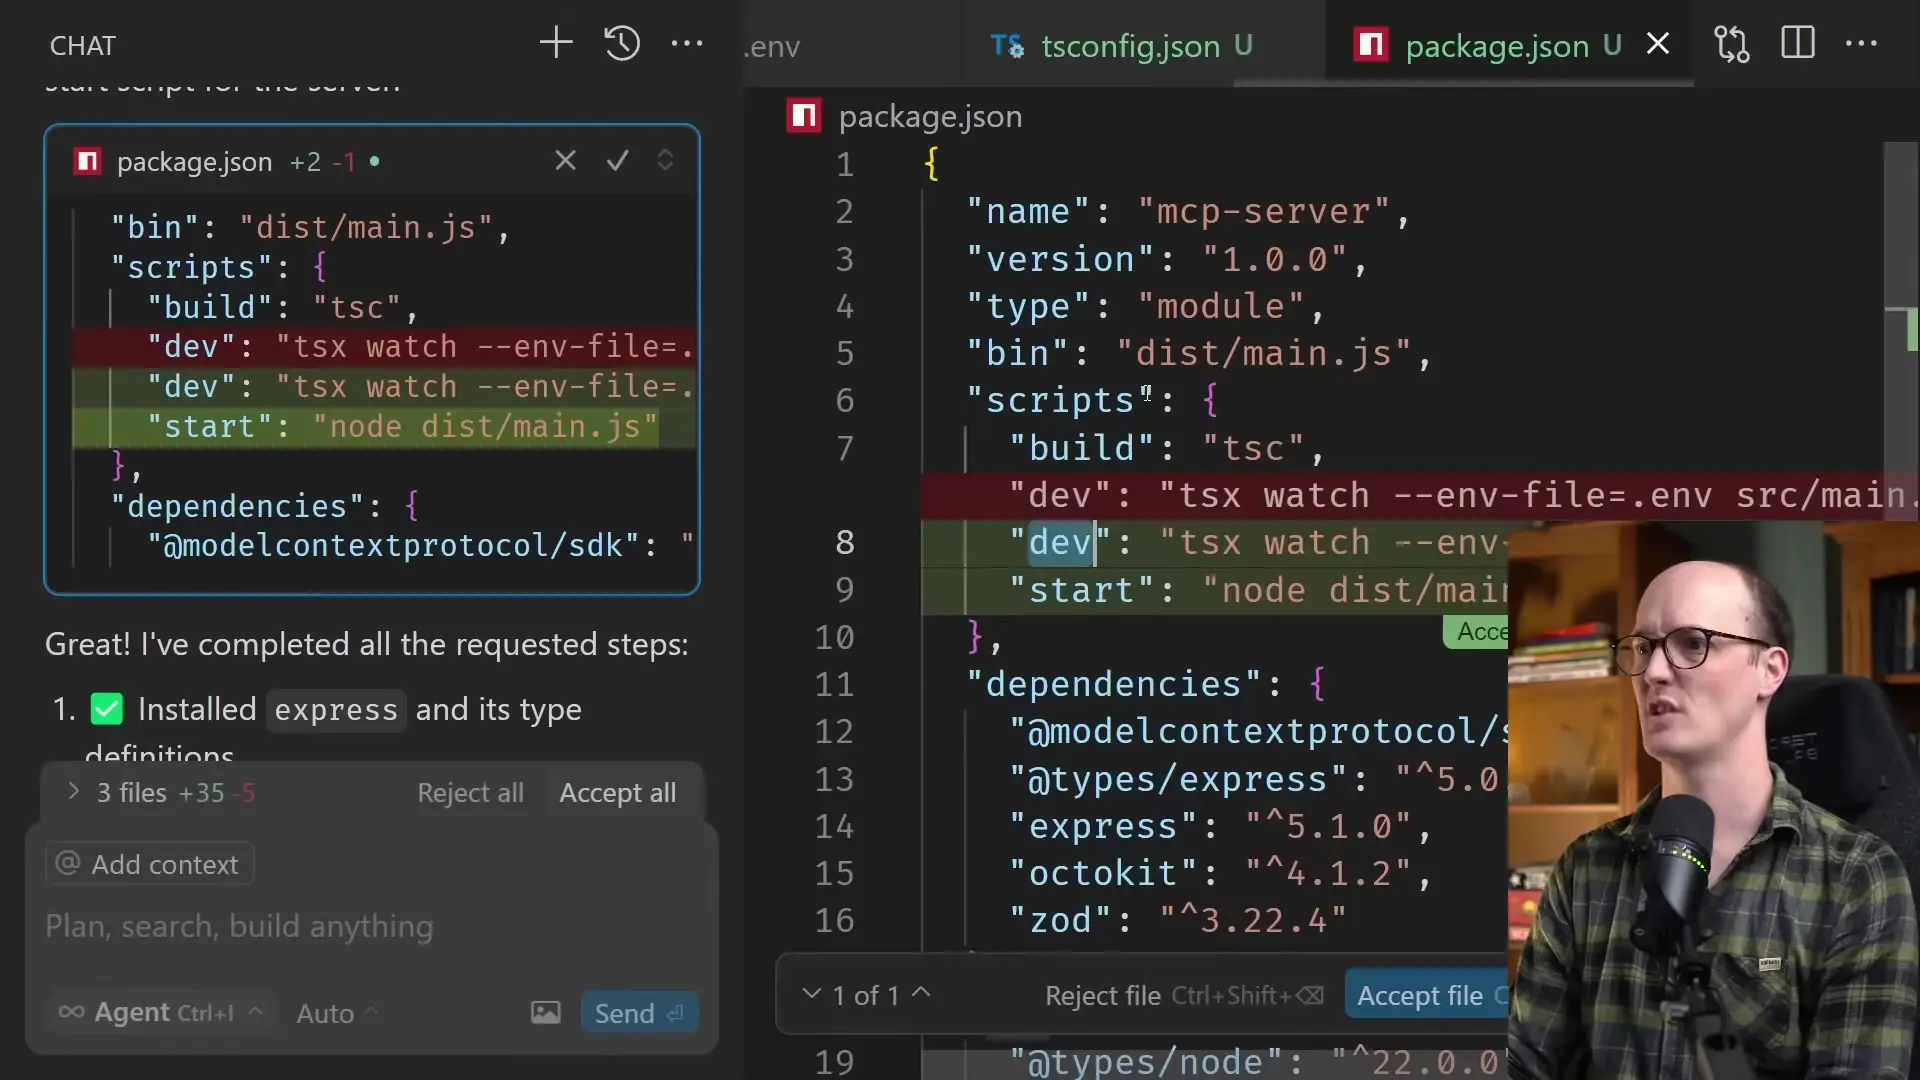
Prompt 5: Testing and Validation
The final prompt focuses on testing the MCP server to ensure it works correctly. This includes validating GitHub API interactions and ensuring the server responds appropriately to client requests.
To test the server, we can create a simple client that connects to our MCP server and executes commands. For example, we can request information about open pull requests from a GitHub repository:
When testing the GitHub integration, we can see the server successfully retrieves pull request information and returns it to the client. This confirms that our MCP server is correctly configured and can interact with external APIs.
Key Benefits of Structured AI-Assisted Development
This approach to building an MCP server demonstrates several important principles of effective AI-assisted development:
- Structured prompts with clear problem statements, supporting information, and steps
- Breaking complex tasks into manageable, focused prompts
- Maintaining good code organization to help the AI understand context
- Leveraging the AI's knowledge of APIs and frameworks
- Iterative development with refactoring for better architecture
By following these principles, developers can create more robust applications more efficiently, using AI as a collaborative tool rather than a replacement for good software engineering practices.
Conclusion
Building an MCP server using AI-assisted development demonstrates how structured prompts and good software engineering practices can work together. By breaking down the development process into clear steps and maintaining good code organization, we can create robust, maintainable servers that integrate with external services like GitHub.
This approach balances the efficiency of AI assistance with the quality control of traditional software development, resulting in better code and a more productive development process. Whether you're building an MCP server for Minecraft BDS server integration or other applications, these principles can help you create more effective solutions.
Let's Watch!
5 Prompts to Build an MCP Server: AI-Assisted Development Guide
Ready to enhance your neural network?
Access our quantum knowledge cores and upgrade your programming abilities.
Initialize Training Sequence