How to Implement Social Authentication in Next.js Apps Using Supabase UI Components
Priya Narayan
Systems Architect

Social authentication used to be a complex implementation task for developers, but with Supabase UI components, you can add powerful social login capabilities to your Next.js application with minimal effort. This tutorial will walk you through the entire process of implementing GitHub authentication in your Next.js app using Supabase.
Prerequisites
- An existing Next.js application or create a new one
- A Supabase account (free tier works fine)
- A GitHub account for setting up OAuth credentials
Setting Up Shadcn UI Components
Supabase UI components are built on top of Shadcn UI, a collection of beautifully designed, accessible UI components. The first step is to install Shadcn UI in your Next.js project.
npx shadcn-ui@latest initThis command will set up Shadcn UI in your project. During the setup process, you'll be asked a few configuration questions. Once installed, you can use various UI components by adding them to your project. For example, to add a button component:
npx shadcn-ui@latest add buttonThe beauty of Shadcn UI components is their flexibility. You can easily customize buttons with different sizes, colors, and variants using props, eliminating the need to worry about design details.
Installing the Supabase Social Login Component
Now that we have Shadcn UI set up, we can install the Supabase social login component. This is done using the Shadcn UI registry system, which allows for easy installation of custom components.
npx shadcn-ui@latest add https://ui.shadcn.com/registry/components/supabase-auth-uiThis command pulls the Supabase authentication UI component from the Shadcn registry and adds it to your project. After running this command, you'll have a fully functional social login component ready to use in your Next.js application.
Setting Up Supabase Project
To make the social login component work, you need to connect it to a Supabase project. If you don't already have one, head over to supabase.com to create an account and set up a new project.
- Create a new organization (if you don't have one)
- Create a new project within that organization
- Once your project is ready, navigate to the project dashboard
After creating your Supabase project, you need to get your project URL and anon key. Click on the 'Project Settings' button, then navigate to the 'API' tab. You'll find your project URL and anon key there.
Configuring Environment Variables
After installing the social login component, you'll need to set up environment variables for your Next.js application. Create a .env.local file in your project root and add the following variables:
NEXT_PUBLIC_SUPABASE_URL=your-supabase-project-url
NEXT_PUBLIC_SUPABASE_PUBLISHABLE_KEY=your-supabase-anon-keyMake sure to replace the placeholder values with your actual Supabase project URL and anon key. Note that the anon key should be referenced as NEXT_PUBLIC_SUPABASE_PUBLISHABLE_KEY in your environment variables.
Setting Up GitHub OAuth Provider
To enable GitHub authentication, you need to configure the GitHub OAuth provider in your Supabase project and set up OAuth credentials in GitHub.
Configuring GitHub OAuth App
- Go to your GitHub account settings
- Navigate to Developer Settings > OAuth Apps
- Click 'New OAuth App'
- Fill in the application name (e.g., 'Supabase Auth')
- Set the homepage URL to 'http://localhost:3000' (for development)
- Set the authorization callback URL to the URL provided by Supabase (you can find this in your Supabase dashboard under Authentication > Providers > GitHub)
- Ensure 'Enable Device Flow' is unchecked
- Click 'Register Application'
After registering the application, you'll receive a Client ID. You'll also need to generate a Client Secret. Make sure to copy both of these values as you'll need them in the next step.
Enabling GitHub Provider in Supabase
- Go to your Supabase project dashboard
- Navigate to Authentication > Providers
- Find GitHub in the list of providers
- Toggle the 'Enabled' switch to ON
- Enter the Client ID and Client Secret you obtained from GitHub
- Click 'Save'
With these steps completed, your GitHub OAuth provider should now be properly configured in Supabase.
Implementing the Social Login Component in Your Next.js App
Now that you have all the necessary configurations in place, you can implement the social login component in your Next.js application. Here's how to use it in a page or component:
import { SupabaseAuth } from '@/components/ui/supabase-auth';

export default function LoginPage() {
  return (
    <div className="flex justify-center items-center min-h-screen">
      <div className="w-full max-w-md p-6 bg-white rounded-lg shadow-md">
        <h2 className="text-2xl font-bold mb-6 text-center">Sign in to your account</h2>
        <SupabaseAuth />
      </div>
    </div>
  );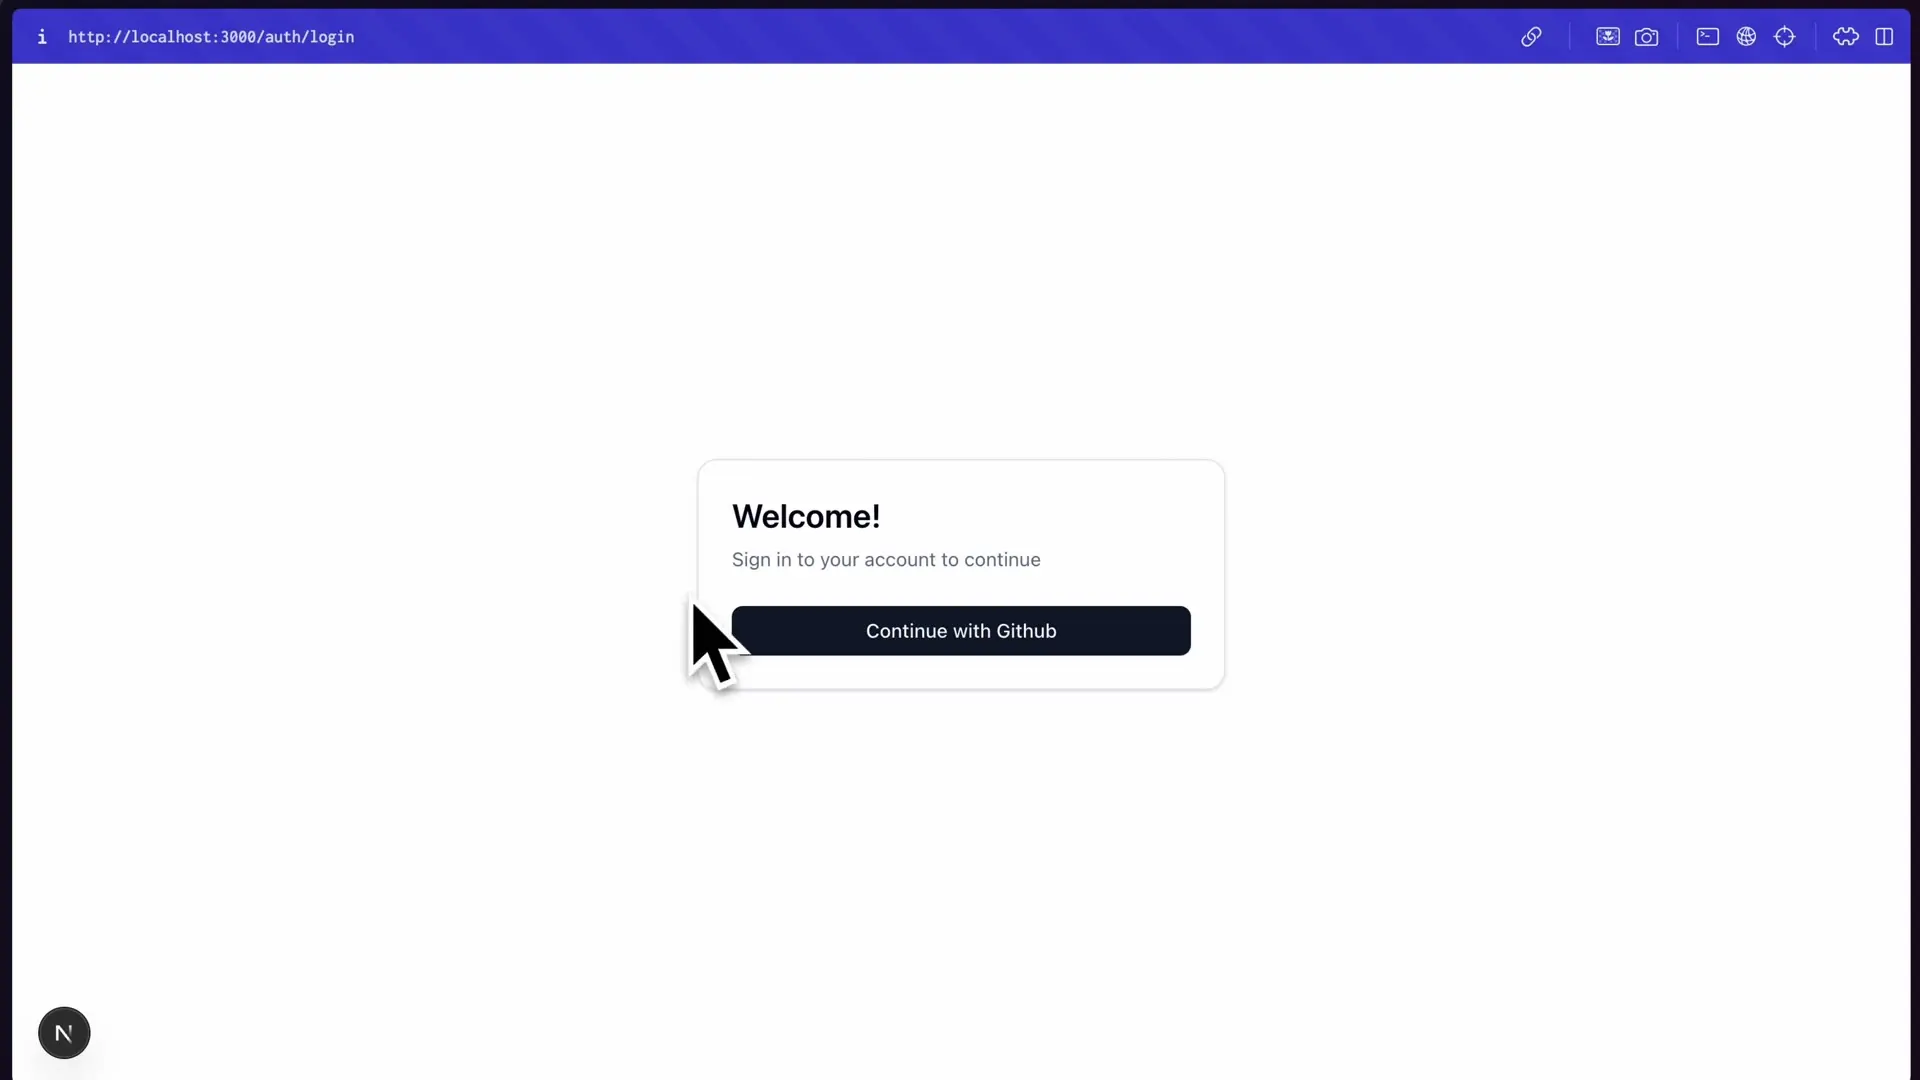
}This code creates a simple login page with the Supabase authentication component centered on the screen. The component will automatically handle the OAuth flow when a user clicks on the 'Continue with GitHub' button.
Testing the Social Login
To test your implementation, start your Next.js development server and navigate to the page where you've implemented the social login component. Click on the 'Continue with GitHub' button, and you should be redirected to GitHub to authorize your application.
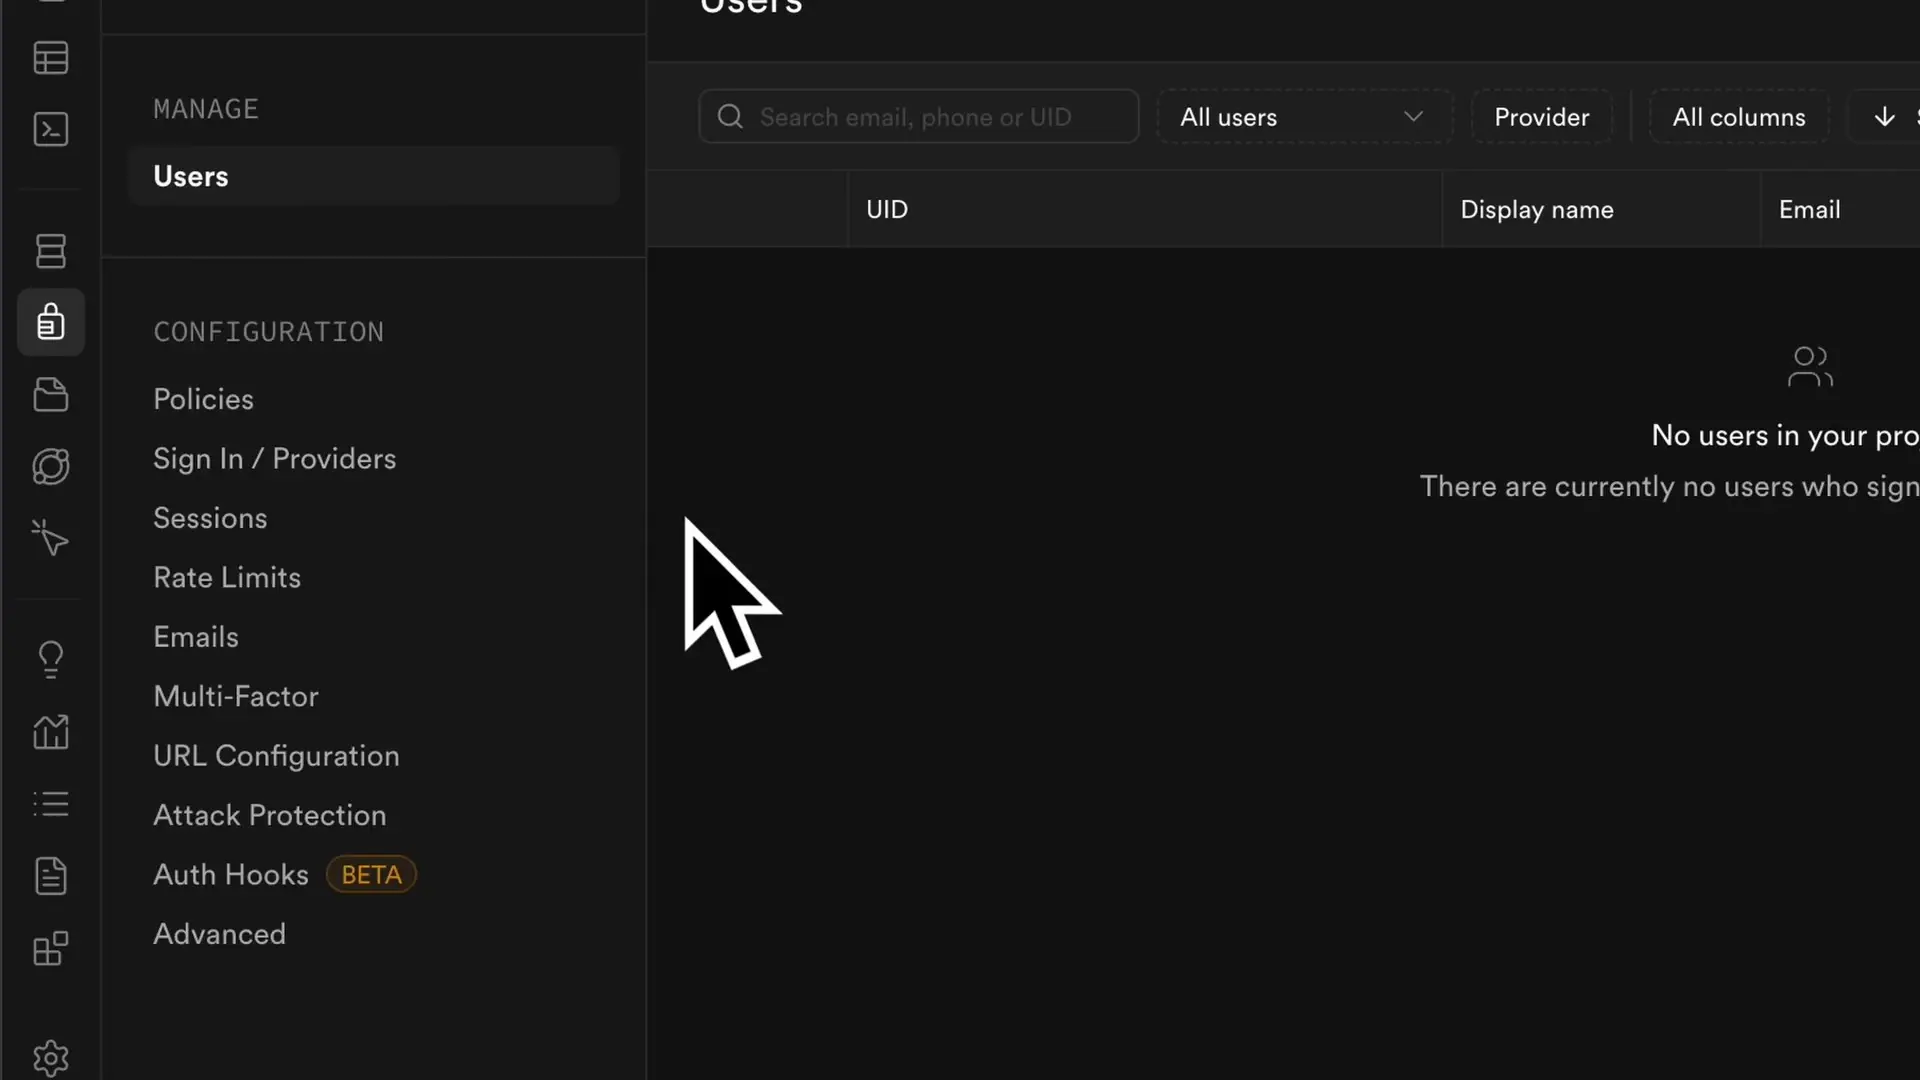
After authorizing, you'll be redirected back to your application, and if everything is set up correctly, you should be successfully authenticated. You can verify this by checking the Users table in your Supabase dashboard, where you should see a new user entry with the provider set to 'github'.

Adding Additional Social Providers
While we've focused on GitHub authentication in this tutorial, Supabase supports many other social providers, including Google, Twitter, Facebook, and more. The process for setting up these providers is similar to what we've done with GitHub:
- Create OAuth credentials on the respective platform
- Enable the provider in your Supabase dashboard
- Add the credentials to your Supabase configuration
Each provider has its own specific requirements and configuration process, but the general flow remains the same.
Conclusion
Implementing social authentication in Next.js applications has never been easier thanks to Supabase UI components and Shadcn UI. With just a few commands and some basic configuration, you can add professional-grade social login functionality to your application, enhancing user experience and security.
This approach not only saves development time but also ensures that your authentication system follows best practices for security and user experience. The combination of Next.js, Supabase, and Shadcn UI provides a powerful toolkit for building modern web applications with sophisticated authentication features.
Let's Watch!
How to Add Social Login to Next.js with Supabase UI in 5 Minutes
Ready to enhance your neural network?
Access our quantum knowledge cores and upgrade your programming abilities.
Initialize Training Sequence