WebAssembly (WASM) has emerged as a powerful technology for web developers seeking near-native performance for computationally intensive tasks. When combined with modern frameworks like Angular, especially with features like signals and httpResource in Angular 19.2, developers can create highly responsive applications that handle complex operations efficiently. This guide will walk you through integrating WebAssembly with Angular, from basic concepts to practical implementation.
Understanding WebAssembly: Beyond the JavaScript Performance Myth
WebAssembly is a low-level assembly-like language that runs in web browsers, delivering near-native performance for certain applications. Contrary to common misconception, WebAssembly isn't a universal performance boost for all JavaScript applications. Modern JavaScript engines are highly sophisticated with extensive optimizations, meaning in many cases, WebAssembly might not provide significant performance improvements.
The real advantages of WebAssembly include:
- Pre-compiled files that are smaller and quicker to transfer over networks
- Potentially faster startup times compared to larger JavaScript files that require parsing and runtime optimization
- Significantly better performance for computationally expensive operations
- Ability to use languages like C, C++, Rust, and Go on the web through compilation to WASM

When to Use WebAssembly with Angular
WebAssembly shines when handling computationally expensive tasks. For example, algorithms like wave function collapse for terrain generation in games, complex data processing, image manipulation, or physics simulations can all benefit from WebAssembly's performance characteristics. These tasks often take seconds to execute in pure JavaScript but can be significantly accelerated using WASM.
When integrating with Angular applications, WebAssembly works particularly well for:
- Data visualization with complex calculations
- Real-time processing of large datasets
- CPU-intensive operations that would otherwise block the UI thread
- Applications requiring consistent performance across different browsers
- Situations where you need to port existing C/C++/Rust/Go code to the web
Getting Started with WebAssembly in Angular
Let's break down the process of integrating WebAssembly with Angular into manageable steps. This approach works with any recent Angular version, including Angular 19.2 with its reactive data fetching capabilities.

Step 1: Create a Basic WebAssembly Module
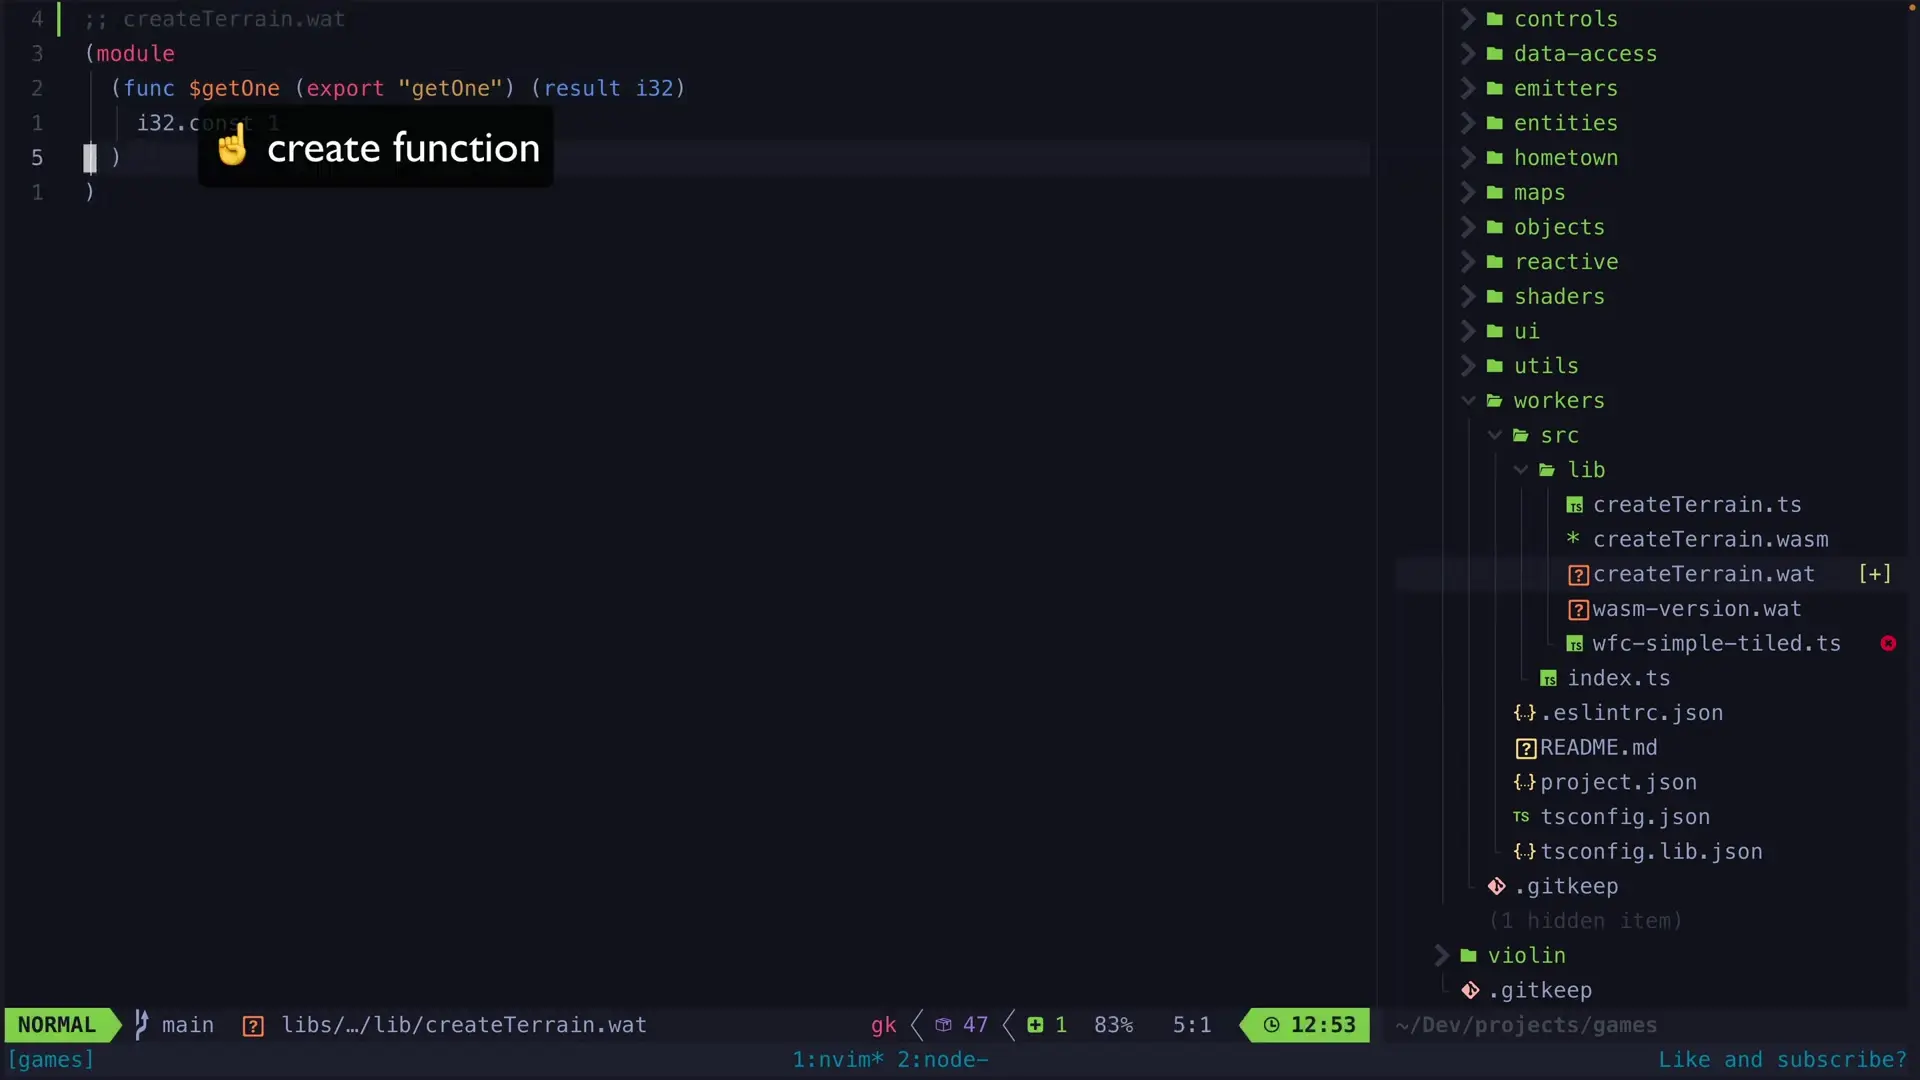
Start by writing a simple WebAssembly module using the WebAssembly Text Format (WAT). This human-readable format allows you to write assembly-like code directly:
(module
  (func $add (param $a i32) (param $b i32) (result i32)
    local.get $a
    local.get $b
    i32.add
  )
  (export "add" (func $add))
)This basic module exports a single function named "add" that takes two 32-bit integers and returns their sum. While simple, this demonstrates the fundamental structure of a WebAssembly module with exported functions.
Step 2: Set Up the WebAssembly Binary Toolkit
To compile the WAT file into WebAssembly binary format (.wasm), you'll need the WebAssembly Binary Toolkit (WABT). Install it following the instructions in the official repository:
# For macOS using Homebrew
brew install wabt

# For Ubuntu/Debian
sudo apt-get install wabt

# For Windows, download the prebuilt binaries from the GitHub repositoryStep 3: Compile the WebAssembly Module
Use the wat2wasm command to compile your WAT file into a binary WASM file:
wat2wasm simple.wat -o simple.wasmThis command transforms your human-readable WAT code into the compact binary format that browsers can execute efficiently.
Step 4: Add the WASM File to Your Angular Project
Place the compiled .wasm file in your Angular project's assets folder. This makes it accessible for loading at runtime:
cp simple.wasm ./src/assets/Step 5: Create a Service to Load and Use the WASM Module
In your Angular application, create a service to handle loading and interacting with the WebAssembly module. This approach works particularly well with Angular's httpResource for reactive data fetching:
import { Injectable, signal } from '@angular/core';
import { httpResource } from '@angular/common/http';

@Injectable({
  providedIn: 'root'
})
export class WasmService {
  private wasmModule = signal<any>(null);
  private isLoading = signal<boolean>(false);
  private error = signal<string | null>(null);

  constructor() {}

  async loadWasmModule() {
    try {
      this.isLoading.set(true);
      this.error.set(null);

      // Fetch the WASM file as an ArrayBuffer
      const response = await fetch('assets/simple.wasm');
      const buffer = await response.arrayBuffer();

      // Instantiate the WebAssembly module
      const result = await WebAssembly.instantiate(buffer);
      this.wasmModule.set(result.instance.exports);
      this.isLoading.set(false);

      return this.wasmModule();
    } catch (err) {
      this.error.set(err.message || 'Failed to load WebAssembly module');
      this.isLoading.set(false);
      throw err;
    }
  }

  // Wrapper for the add function from our WASM module
  add(a: number, b: number): number {
    const module = this.wasmModule();
    if (!module) {
      throw new Error('WebAssembly module not loaded');
    }
    return module.add(a, b);
  }

  // Getters for reactive state
  getModule() { return this.wasmModule; }
  getIsLoading() { return this.isLoading; }
  getError() { return this.error; }
}
Step 6: Use the WASM Module in a Component
Now you can use the WebAssembly functions in your Angular components:
import { Component, OnInit } from '@angular/core';
import { WasmService } from './wasm.service';

@Component({
  selector: 'app-wasm-demo',
  template: `
    <div *ngIf="wasmService.getIsLoading() | async">
      Loading WebAssembly module...
    </div>
    <div *ngIf="wasmService.getError() | async as error" class="error">
      Error: {{ error }}
    </div>
    <div *ngIf="result !== null">
      Result of adding 40 + 2 using WebAssembly: {{ result }}
    </div>
    <button (click)="calculateSum()">Calculate Sum</button>
  `
})
export class WasmDemoComponent implements OnInit {
  result: number | null = null;

  constructor(public wasmService: WasmService) {}

  async ngOnInit() {
    try {
      await this.wasmService.loadWasmModule();
    } catch (err) {
      console.error('Failed to load WASM module:', err);
    }
  }

  calculateSum() {
    try {
      this.result = this.wasmService.add(40, 2);
    } catch (err) {
      console.error('Error calling WASM function:', err);
    }
  }
}Step 7: Advanced Integration with Angular Signals and httpResource
For more complex applications, you can leverage Angular's reactive features to create a seamless integration between WebAssembly and your application state:
import { Component, computed, effect, inject } from '@angular/core';
import { httpResource } from '@angular/common/http';
import { WasmService } from './wasm.service';

@Component({
  selector: 'app-advanced-wasm',
  template: `
    <div *ngIf="isLoading()">
      Loading data and processing with WebAssembly...
    </div>
    <div *ngIf="error()" class="error">
      Error: {{ error() }}
    </div>
    <div *ngIf="processedData()">
      <h3>Processed Results:</h3>
      <pre>{{ processedData() | json }}</pre>
    </div>
  `
})
export class AdvancedWasmComponent {
  private wasmService = inject(WasmService);

  // Use httpResource for reactive data fetching
  private dataResource = httpResource('/api/data');
  private data = computed(() => this.dataResource().data);

  // Track loading and error states
  isLoading = computed(() =>
    this.dataResource().loading || this.wasmService.getIsLoading()()
  );

  error = computed(() =>
    this.dataResource().error || this.wasmService.getError()()
  );

  // Process data with WebAssembly when available
  processedData = computed(() => {
    const rawData = this.data();
    const wasmModule = this.wasmService.getModule()();

    if (!rawData || !wasmModule) return null;

    // Process data using WebAssembly functions
    return this.processWithWasm(rawData, wasmModule);
  });

  constructor() {
    // Load the WebAssembly module when component initializes
    this.wasmService.loadWasmModule();

    // Set up an effect to react to changes
    effect(() => {
      const result = this.processedData();
      if (result) {
        console.log('Data processed with WebAssembly:', result);
      }
    });
  }

  private processWithWasm(data: any[], wasmModule: any) {
    // Example of using WebAssembly for data processing
    return data.map(item => ({
      ...item,
      // Apply WebAssembly calculations to each item
      processedValue: wasmModule.add(item.value, 10)
    }));
  }
}Beyond Simple Examples: Real-World Applications
While our examples have been simple, WebAssembly can be applied to more complex scenarios in Angular applications:
- Image and video processing with real-time filters and effects
- Complex data visualization with thousands of data points
- Scientific simulations and calculations
- Game development with physics engines
- Audio processing and synthesis
- Machine learning inference on the client side
Alternative Approaches: Using Higher-Level Languages
While the WebAssembly Text Format offers direct control, many developers prefer using higher-level languages that compile to WebAssembly:
- Rust: Offers memory safety without garbage collection, making it ideal for WebAssembly
- AssemblyScript: A TypeScript-like language designed specifically for WebAssembly
- Go: Provides a familiar syntax with good WebAssembly support
- C/C++: Traditional languages with mature tooling for WebAssembly compilation via Emscripten
For complex applications like wave function collapse algorithms for terrain generation, these higher-level languages often provide a better developer experience while still delivering the performance benefits of WebAssembly.
Performance Considerations and Best Practices
When integrating WebAssembly with Angular, keep these performance optimization tips in mind:
- Load WebAssembly modules asynchronously to avoid blocking the main thread
- Use Angular signals for reactive state management with WebAssembly results
- Consider caching the instantiated WebAssembly module to avoid recompilation
- Batch operations to minimize the overhead of crossing the JavaScript/WebAssembly boundary
- Profile your application to identify which parts actually benefit from WebAssembly optimization
- Consider using SharedArrayBuffer for efficient memory sharing between JavaScript and WebAssembly when appropriate
- Implement proper error handling for WebAssembly module loading and function calls
Conclusion: Integrating WebAssembly with Angular
WebAssembly provides a powerful way to enhance Angular applications with near-native performance for computationally intensive tasks. By following the steps outlined in this guide, you can start integrating WebAssembly modules into your Angular projects, leveraging modern features like signals and httpResource for reactive data handling.
Whether you're working with the WebAssembly Text Format directly or using higher-level languages like Rust, Go, or AssemblyScript, the fundamental integration pattern remains similar. As WebAssembly continues to evolve, its integration with frameworks like Angular will become even more seamless, opening up new possibilities for web application performance.
Remember that WebAssembly isn't a silver bullet for all performance issues—modern JavaScript engines are highly optimized. The key is to identify the specific computationally intensive tasks in your application that would benefit most from WebAssembly's performance characteristics, and apply this technology strategically for maximum impact.
Let's Watch!
7 Steps to Integrate WebAssembly with Angular for Near-Native Performance
Ready to enhance your neural network?
Access our quantum knowledge cores and upgrade your programming abilities.
Initialize Training Sequence