Complete Nuxt 4 Migration Guide: New Features and Step-by-Step Upgrade Process
Eleanor Park
Developer Advocate
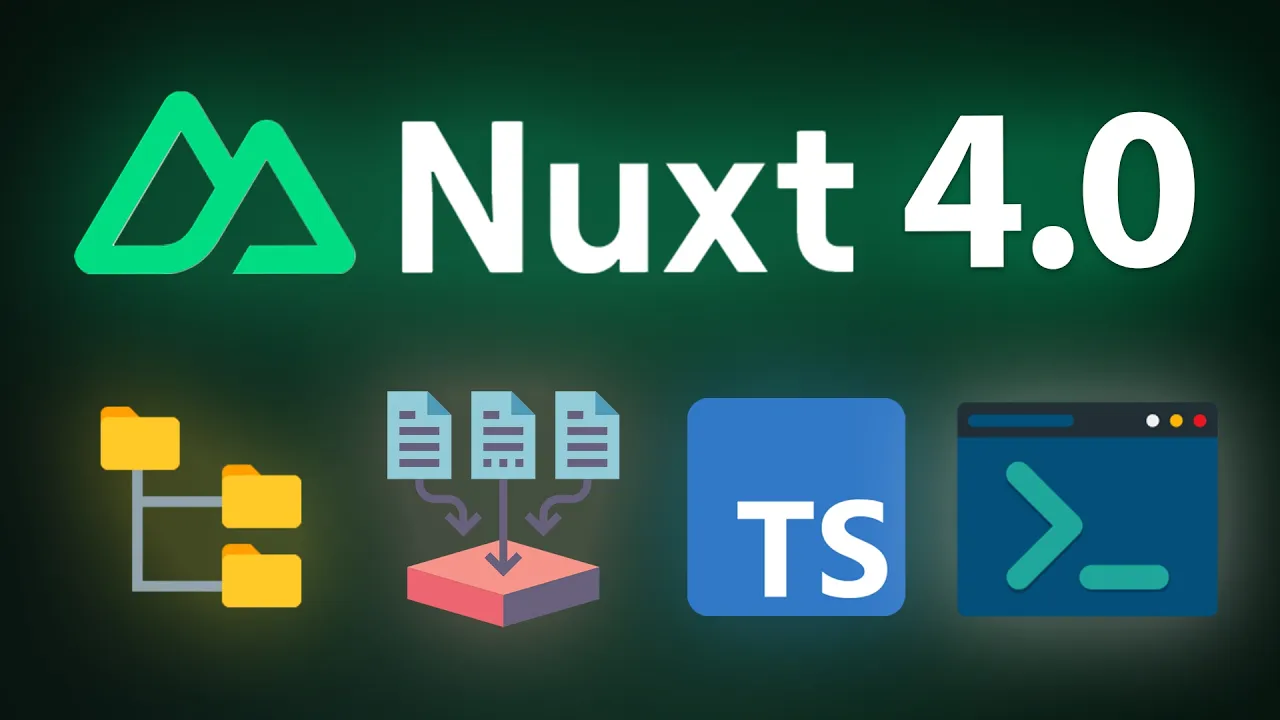
Nuxt 4 has officially arrived with significant improvements that enhance both developer experience and application performance. This major release introduces a cleaner project structure, optimized data fetching, better TypeScript integration, and a more streamlined CLI. In this comprehensive migration guide, we'll explore what's new in Nuxt 4 and provide a step-by-step process to upgrade your existing Nuxt projects.
Key Features in Nuxt 4
1. Streamlined CLI Experience
The Nuxt 4 CLI has been redesigned to provide a more intuitive onboarding experience. Rather than overwhelming developers with numerous configuration questions, the new CLI presents a simplified flow that allows you to choose whether to install Nuxt modules. This approach makes project initialization faster and more straightforward, especially for newcomers to the framework.
2. New Project Structure
Perhaps the most significant change in Nuxt 4 is the introduction of a new project structure. Unlike Nuxt 3, where application files were scattered throughout the root directory, Nuxt 4 organizes your application code inside a dedicated 'app' directory. This structure is similar to what Next.js has implemented, which is not surprising given Nuxt's recent partnership with Vercel.
Inside the app directory, you'll find your app.vue file, assets, components, composables, and other application-specific code. Meanwhile, the server and shared folders remain in the root directory - server for your APIs and shared for types and utilities.

This reorganization isn't just about aesthetics - it delivers tangible performance benefits. During development, Nuxt only needs to watch the app directory rather than the entire root directory, resulting in faster Hot Module Replacement (HMR) and reduced CPU usage. For teams migrating from Nuxt 3, it's worth noting that the new structure is optional - Nuxt 4 continues to support the legacy layout for backward compatibility.
3. Enhanced Data Fetching
While smart data fetching was introduced in Nuxt 3, version 4 brings further optimizations and organizational improvements. One significant enhancement is that all calls to useFetch or useAsyncData with the same key now share the same data reference.

This optimization comes with an important caveat: calls with the same explicit key must not have conflicting deep or default options. For example, if you have two useFetch calls with the same key but different deep options, Nuxt will issue a warning since it cannot determine which configuration to prioritize.
// This will trigger a warning in Nuxt 4
const { data: data1 } = useFetch('/api/users', { key: 'users', deep: true })
const { data: data2 } = useFetch('/api/users', { key: 'users', deep: false })4. Improved TypeScript Experience
Nuxt 4 simplifies TypeScript configuration by requiring only a single tsconfig.json file for your entire project. This unified approach covers app code, server code, and shared code, eliminating the need for separate configuration files in different directories as was common in Nuxt 3.
The new TypeScript configuration uses references to define paths for app, server, shared, and node contexts. This approach provides better autocompletion and reduces confusing errors when working across different parts of your application.
{
  "references": [
    {
      "path": "./.nuxt/tsconfig.json"
    }
  ],
  "compilerOptions": {
    "paths": {
      "~/*": ["./*"],
      "@/*": ["./app/*"],
      "~~/*": ["./*"],
      "@@/*": ["./*"]
    }
  }
}How to Migrate from Nuxt 3 to Nuxt 4
Migrating your existing Nuxt 3 project to Nuxt 4 is relatively straightforward. Let's walk through the process step by step:
Step 1: Update Dependencies
Begin by updating your Nuxt installation using the following command:
npx nuxi upgrade --forceThis command updates your Nuxt version and related dependencies to their latest compatible versions.
Step 2: Update TypeScript Configuration
After upgrading, you'll likely encounter TypeScript errors related to imports. To resolve these, update your tsconfig.json file to use the new reference-based configuration:
{
  "references": [
    {
      "path": "./.nuxt/tsconfig.json"
    }
  ],
  "compilerOptions": {
    "paths": {
      "~/*": ["./*"],
      "@/*": ["./app/*"],
      "~~/*": ["./*"],
      "@@/*": ["./*"]
    }
  }
}If you can't find the necessary type definitions in the .nuxt folder, run the post-install script to generate them:
npm run postinstall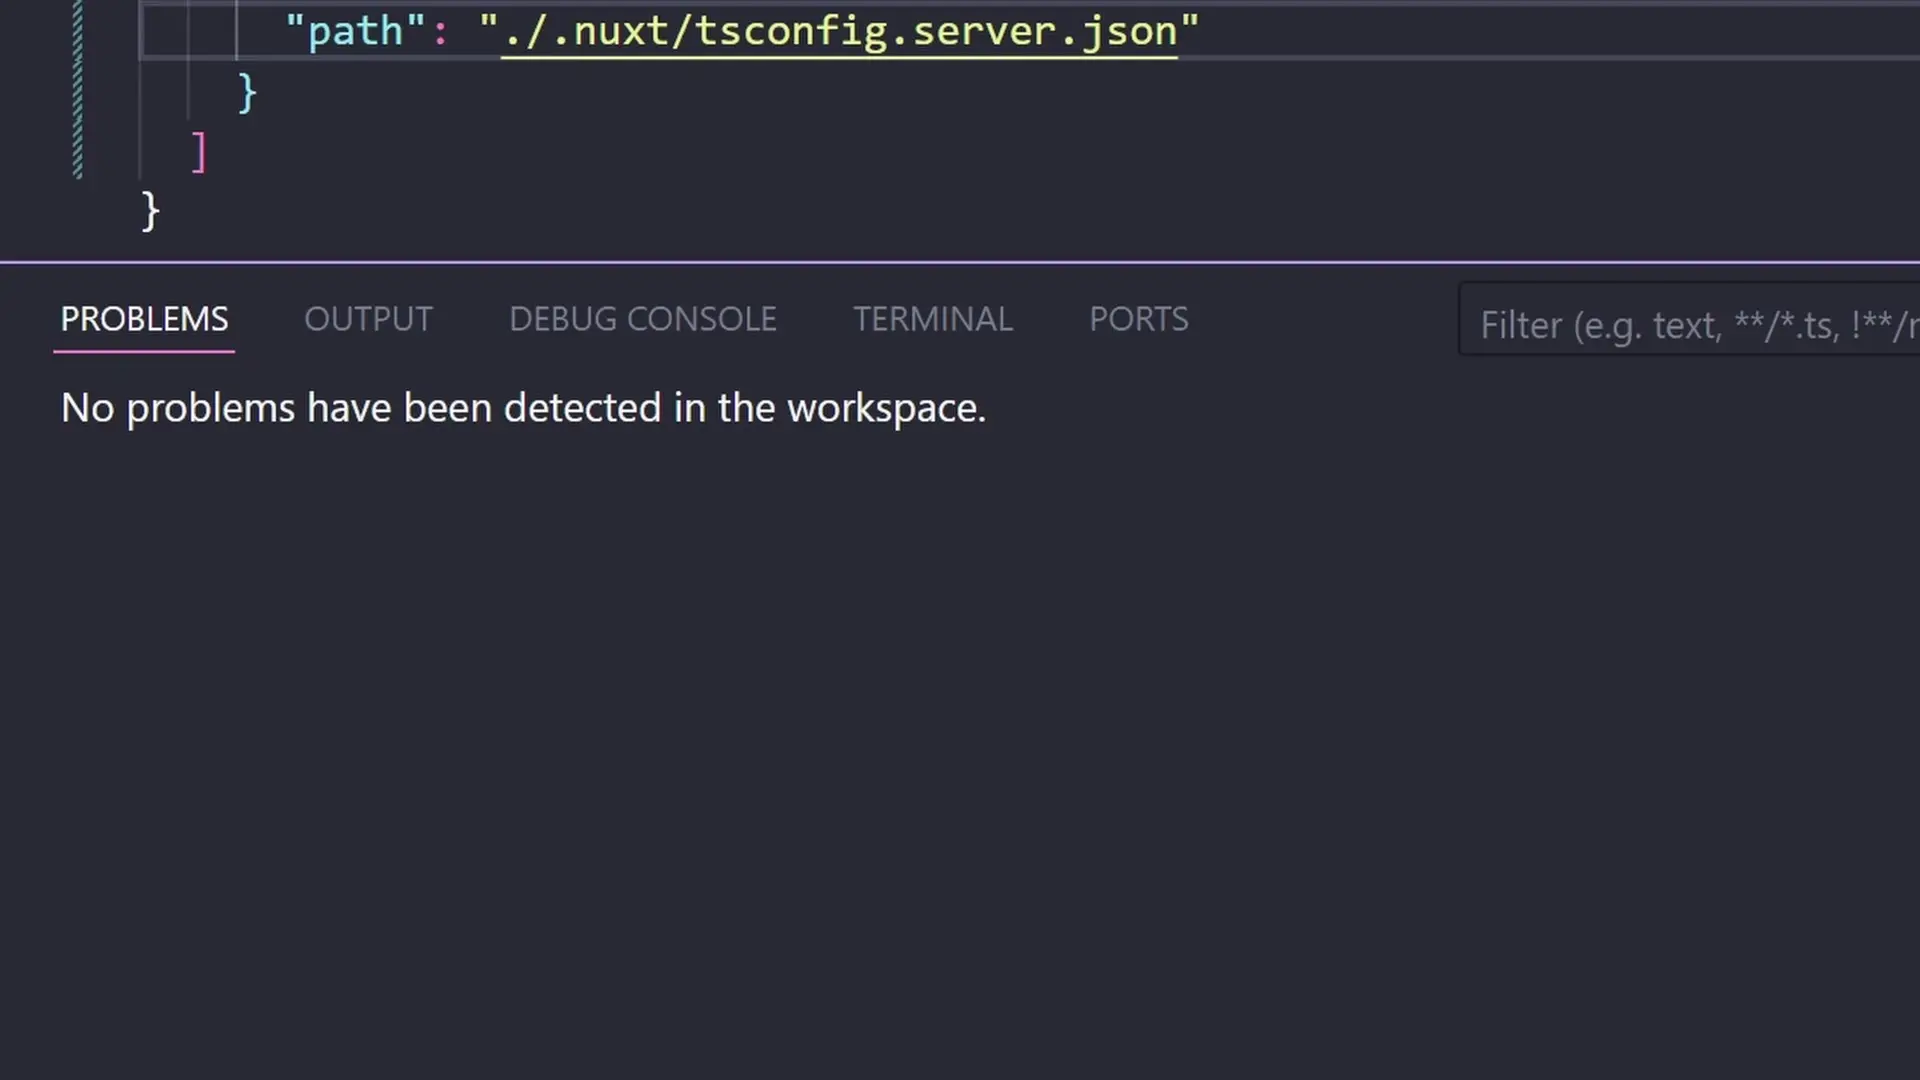
Step 3: Adopt the New Project Structure (Optional)
If you want to take advantage of the new project structure, create an app directory in your project root and move the relevant files and folders into it. This includes:
- app.vue
- assets/
- components/
- composables/
- layouts/
- middleware/
- pages/
- plugins/
- public/
Remember that this step is optional - Nuxt 4 continues to support the legacy structure if you prefer not to reorganize your project immediately.
Step 4: Check Module Compatibility
Some Nuxt modules may not be immediately compatible with Nuxt 4. Check the status of your installed modules and look for updated versions that support Nuxt 4. If a module is incompatible, you might need to find alternatives or wait for updates from the module maintainers.
Benefits of Upgrading to Nuxt 4
- Improved development experience with faster HMR
- Better project organization with the new directory structure
- Optimized data fetching with shared references
- Simplified TypeScript configuration and better type support
- More streamlined CLI for easier project initialization
- Reduced CPU usage during development
Conclusion
Nuxt 4 represents a significant step forward for the framework, offering tangible improvements in project organization, performance, and developer experience. The migration process is relatively straightforward, especially if you choose to maintain the legacy project structure initially.
For most projects, the benefits of upgrading to Nuxt 4 outweigh the minimal migration effort required. The improved TypeScript support, optimized data fetching, and potential performance gains from the new project structure make this update particularly valuable for teams working on larger applications.
As with any framework upgrade, it's advisable to test thoroughly in a development environment before deploying to production. Pay special attention to any custom modules or plugins that might require updates to maintain compatibility with Nuxt 4.
Let's Watch!
Nuxt 4 Migration Guide: Key Features and How to Upgrade Your Project
Ready to enhance your neural network?
Access our quantum knowledge cores and upgrade your programming abilities.
Initialize Training Sequence